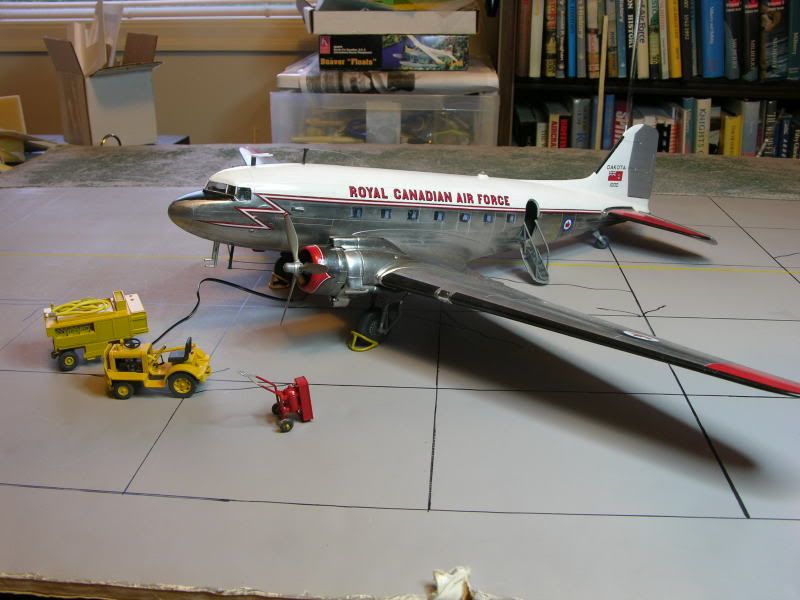
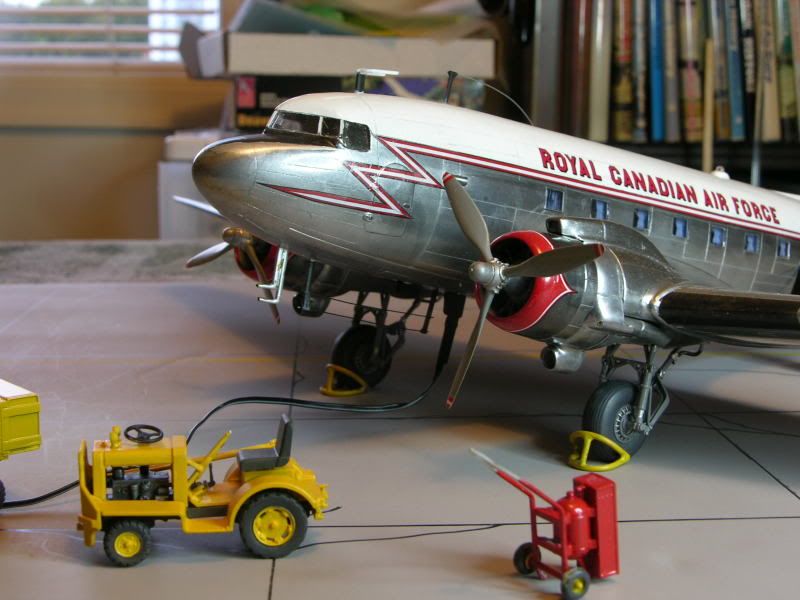
The Never Ending Dakota
I started this project in 2006 as a challenge. It is the Monogram 1:48 scale DC-3 with a bit of modification to represent a 412 Sqn RCAF, VIP transport based in Ottawa, Ont, Canada. I was interested in the use of LEDs as a lighting source and with a well stocked electronics supply store nearby the project began to take shape.
At first I was planning just nav lights but then anti-collision lights, landing lights and interior lights were added. Then I found a supply of very tiny geared electric motors which are now buried in the P&W 1830 crankcases. All systems have been tested and work perfectly but the final details will not be completed.
The metallic finish is SnJ Aluminum polishing powder over Model Master Gloss Black enamel. The wheel chocks are soldered #14g electrical wire.
Barney


