


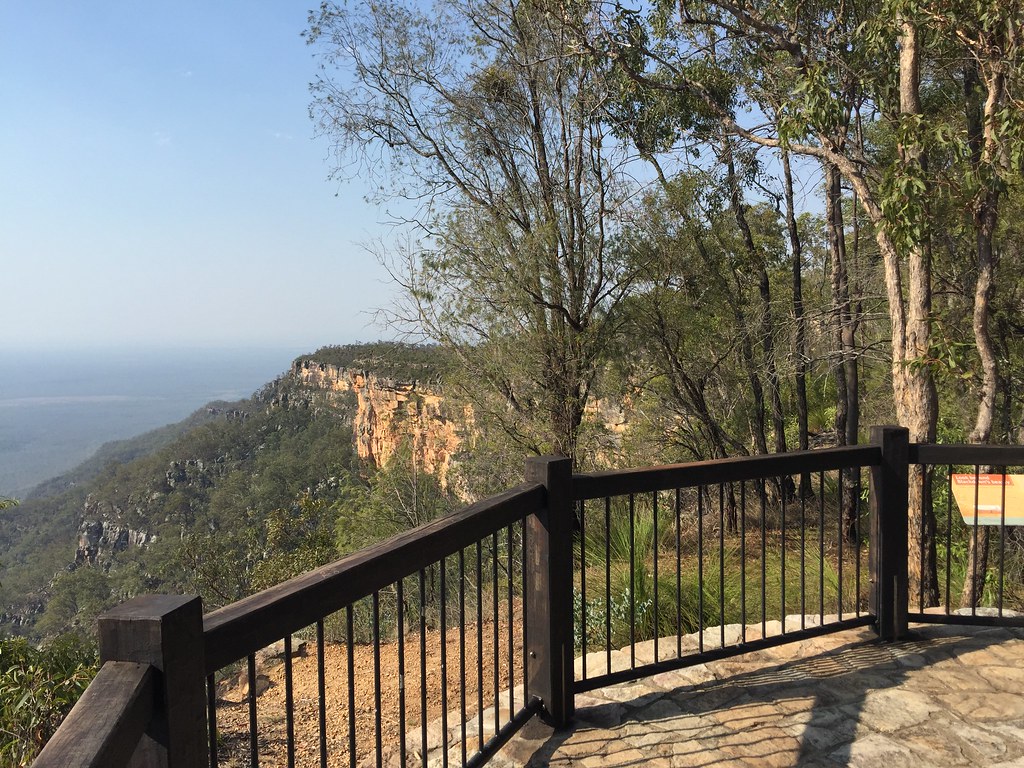

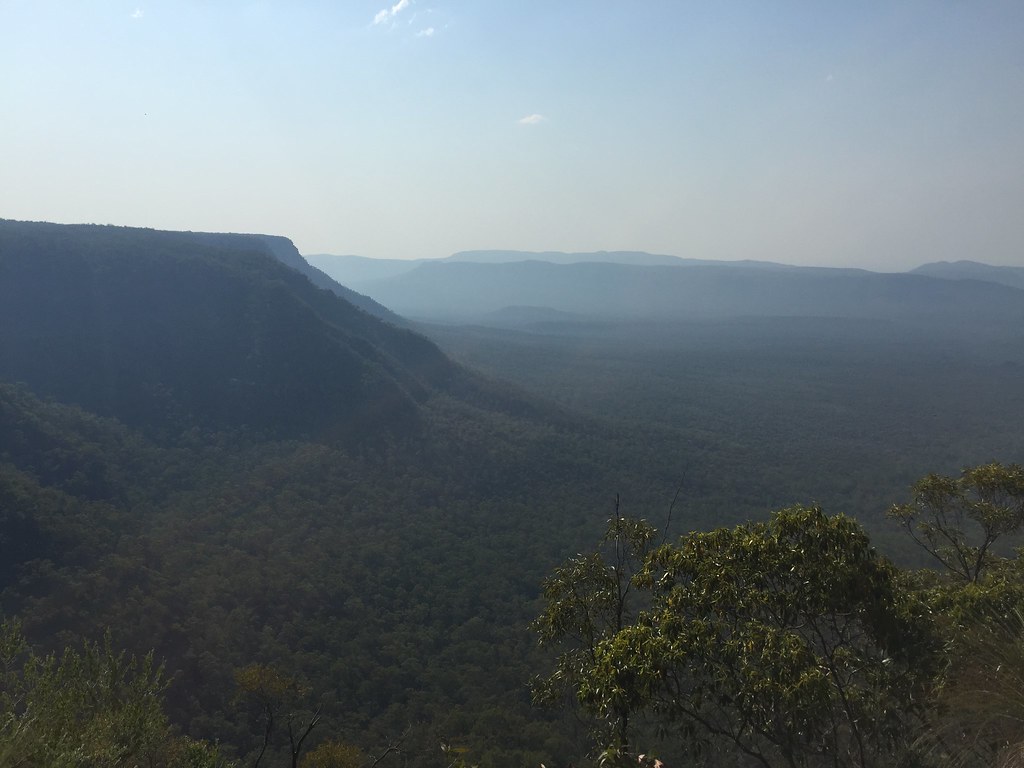


... and No it wasn't really any cooler up there!
![]() by Ansett A330 » Tue Oct 30, 2018 9:37 pm
by Ansett A330 » Tue Oct 30, 2018 9:37 pm
![]() by Ansett A330 » Tue Oct 30, 2018 9:49 pm
by Ansett A330 » Tue Oct 30, 2018 9:49 pm
 [/url]
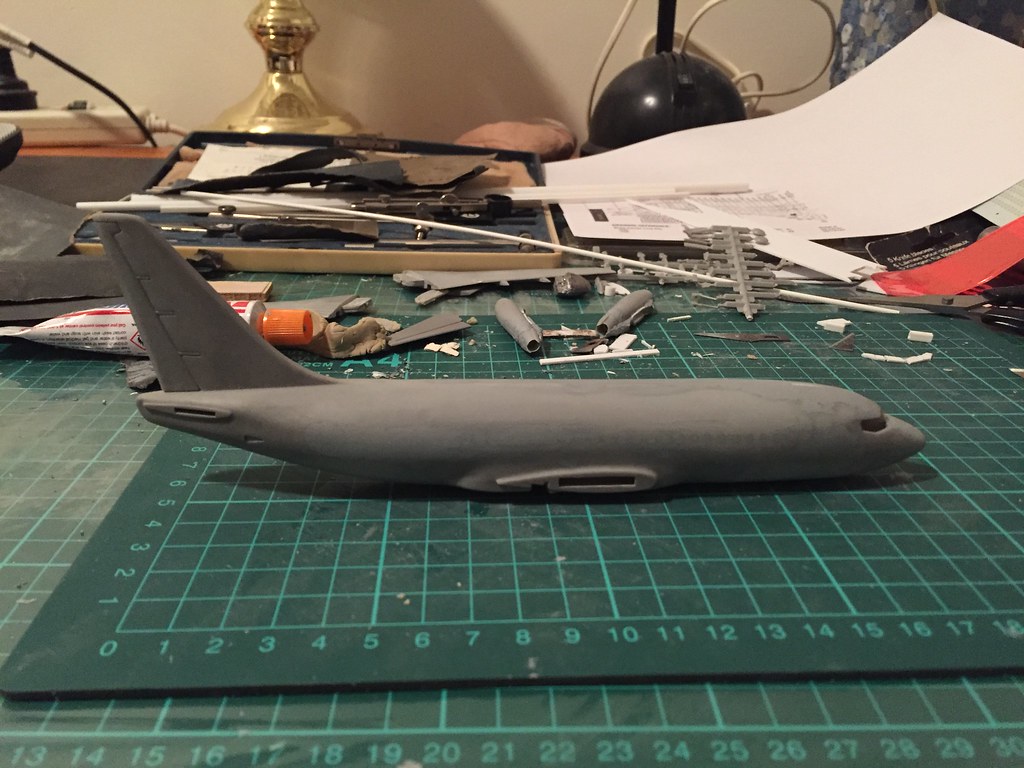
![]() by Ansett A330 » Tue Nov 27, 2018 12:38 am
by Ansett A330 » Tue Nov 27, 2018 12:38 am
![]() by Ansett A330 » Wed Nov 28, 2018 9:46 pm
by Ansett A330 » Wed Nov 28, 2018 9:46 pm
![]() by Ansett A330 » Thu Nov 29, 2018 2:45 am
by Ansett A330 » Thu Nov 29, 2018 2:45 am
![]() by Ansett A330 » Sat Dec 01, 2018 2:00 pm
by Ansett A330 » Sat Dec 01, 2018 2:00 pm
![]() by Graeme H » Sat Dec 01, 2018 7:21 pm
by Graeme H » Sat Dec 01, 2018 7:21 pm

![]() by Ansett A330 » Sun Dec 02, 2018 11:45 pm
by Ansett A330 » Sun Dec 02, 2018 11:45 pm
![]() by Uros » Mon Dec 03, 2018 6:45 am
by Uros » Mon Dec 03, 2018 6:45 am
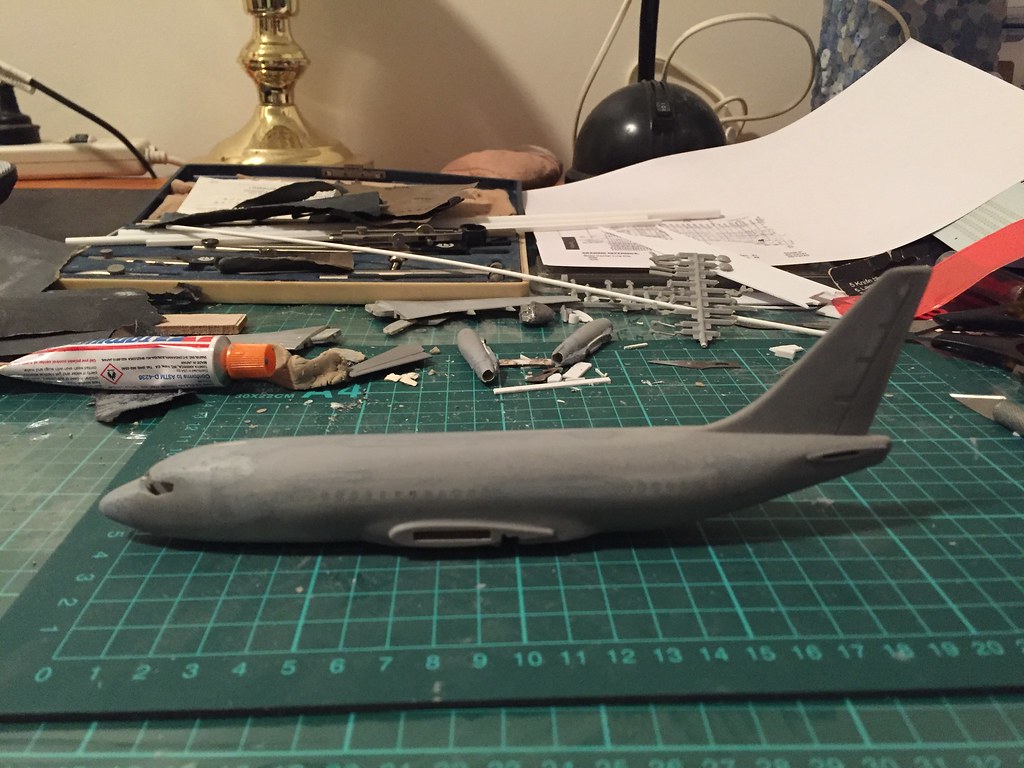
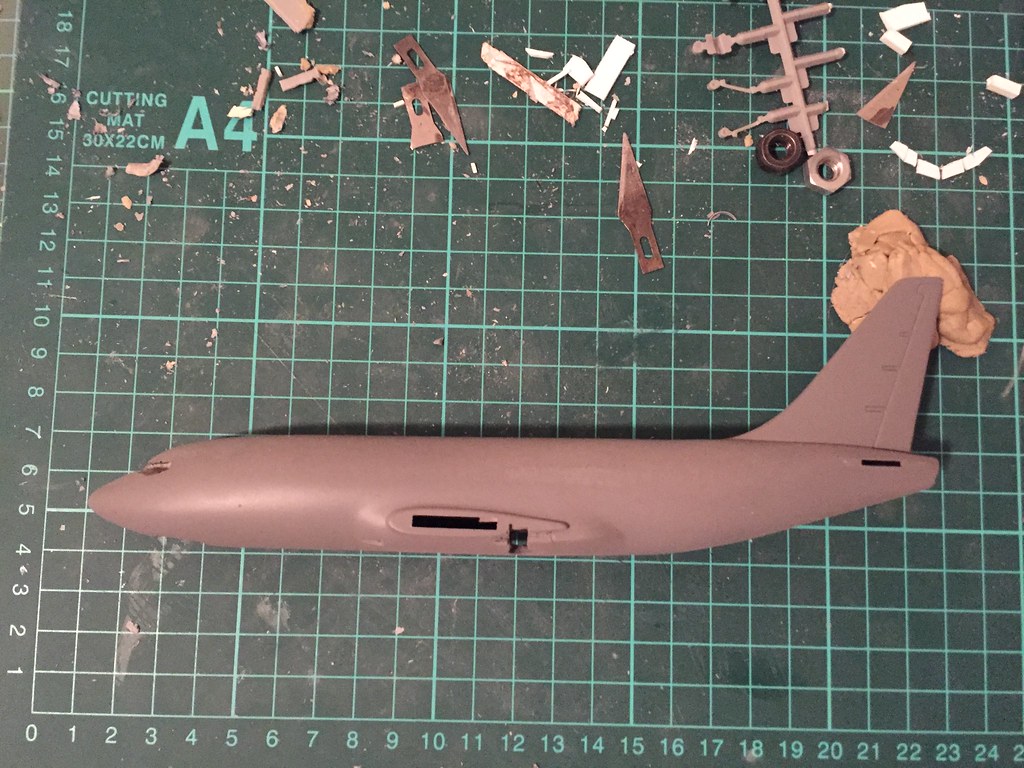
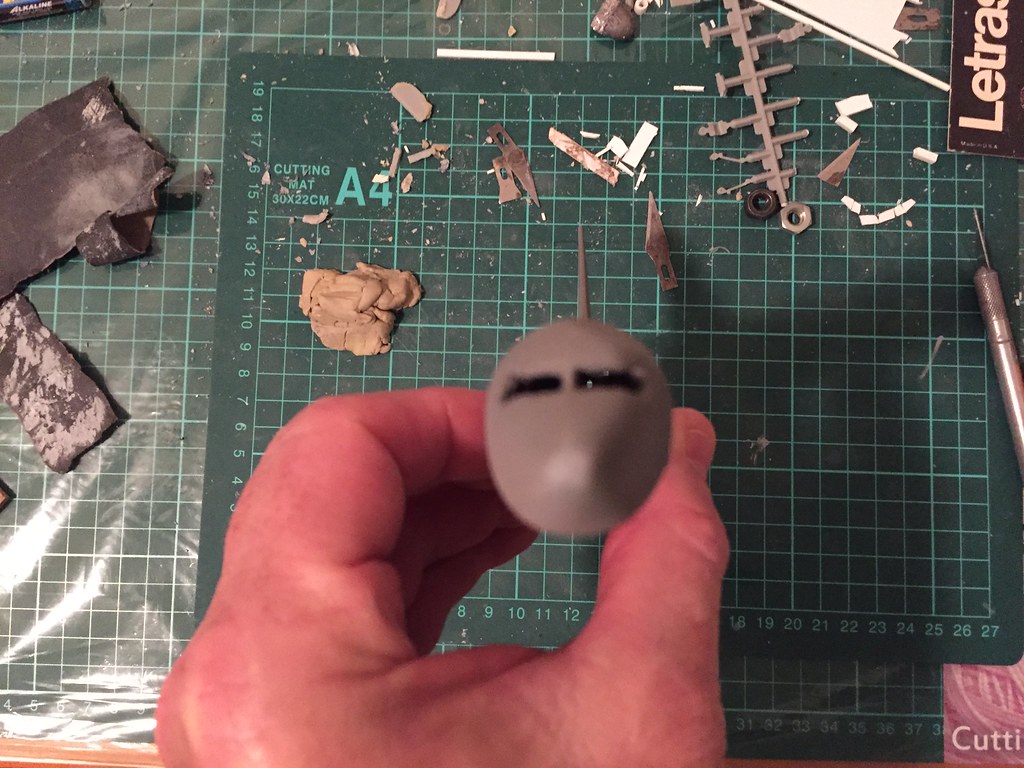
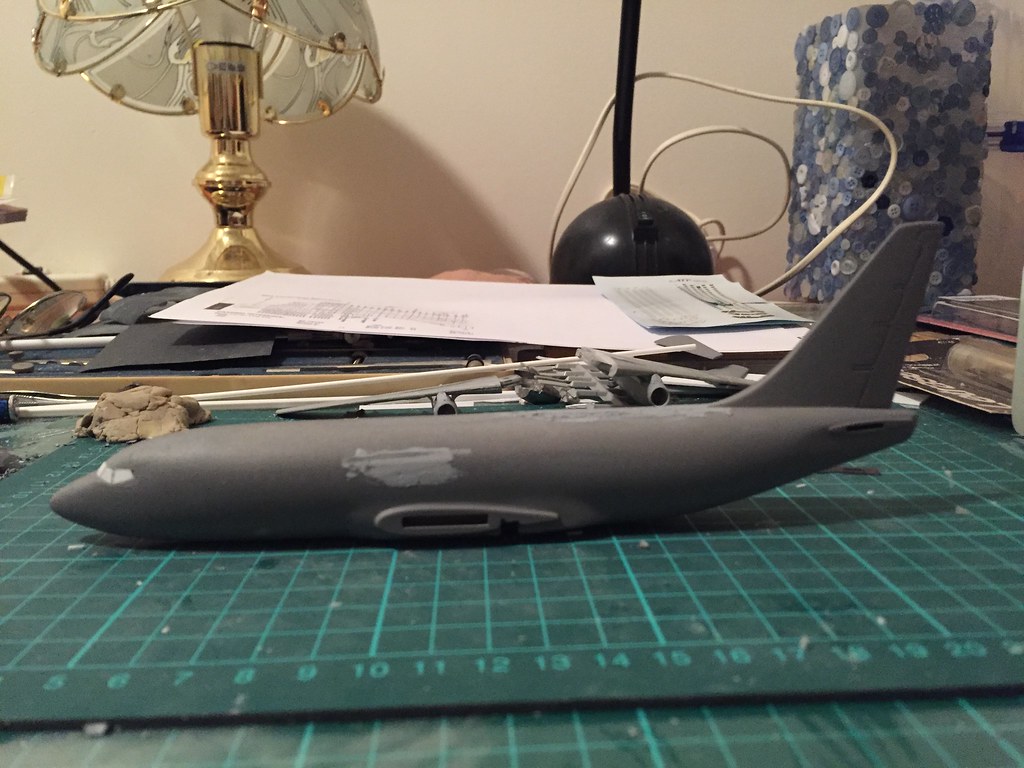
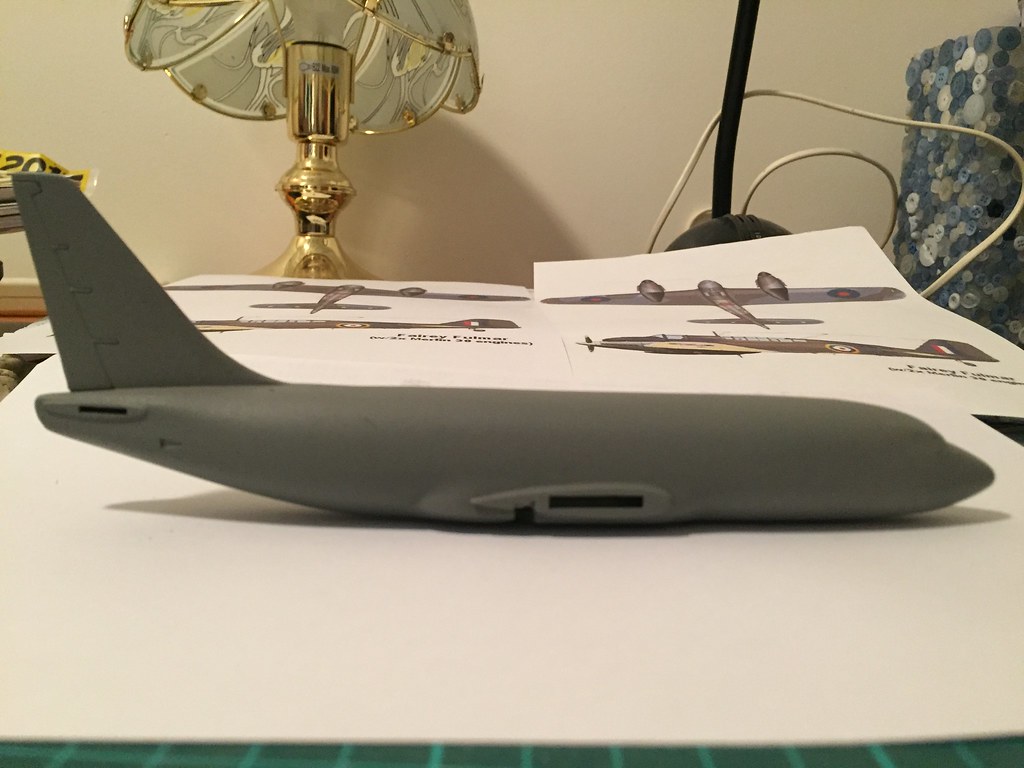
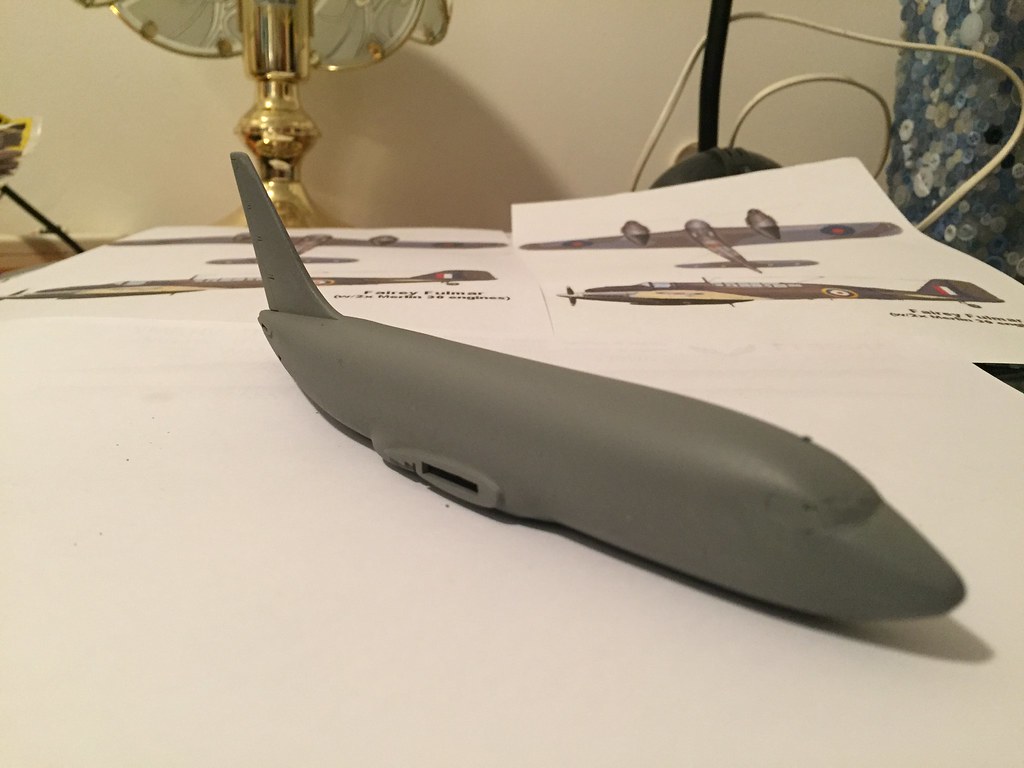
Ansett A330 wrote:OK seeing I ruined the Cockpit I thought I would experiment with the other end to see what I could destroy or - if I'm really lucky - improve.
So looking at the photos the horizontal surfaces rotation point and radius look fairly obvious but not having a Minicraft, Revel, or Zvezda 73 of whatever mark to compare how they did it I was at the mercy of my own whim as to how to achieve the "look".
So first step I figured should be to get rid of the "stub" on both sides of the rear fuselage that Airfix provide as I figured at least if that was gone I wouldn't have to fill the gap between stubs and horizontal surfaces and the if it was gone I might have a better chance at shaping the area and then drilling, cutting, and scribing what I wanted there.
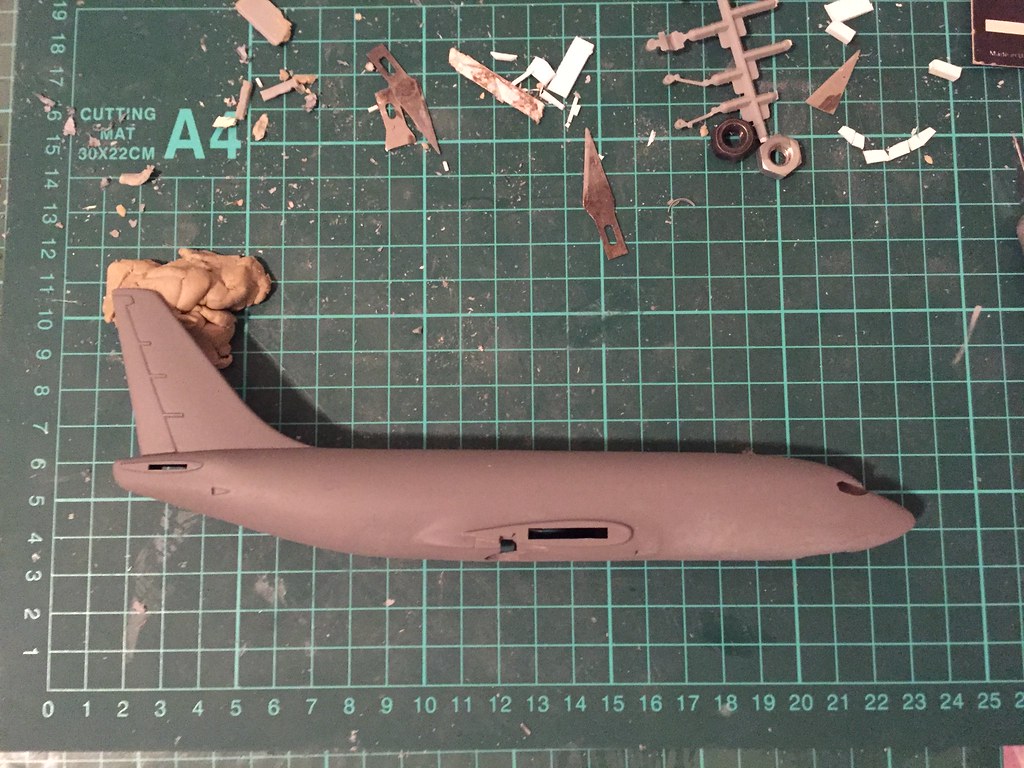
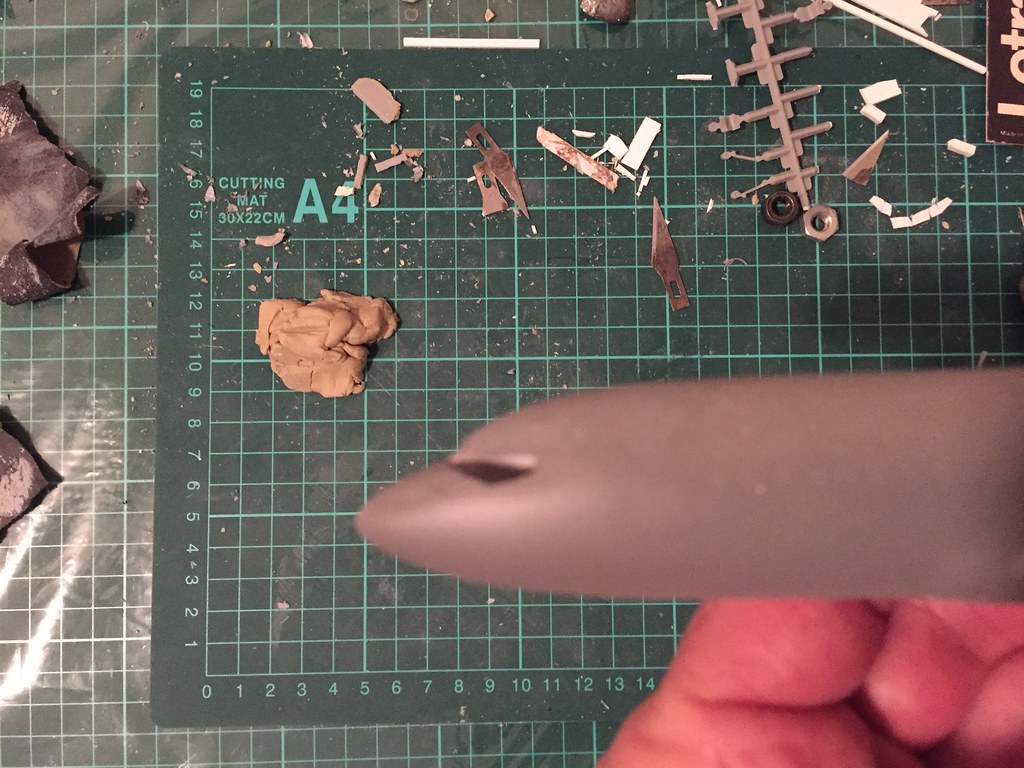
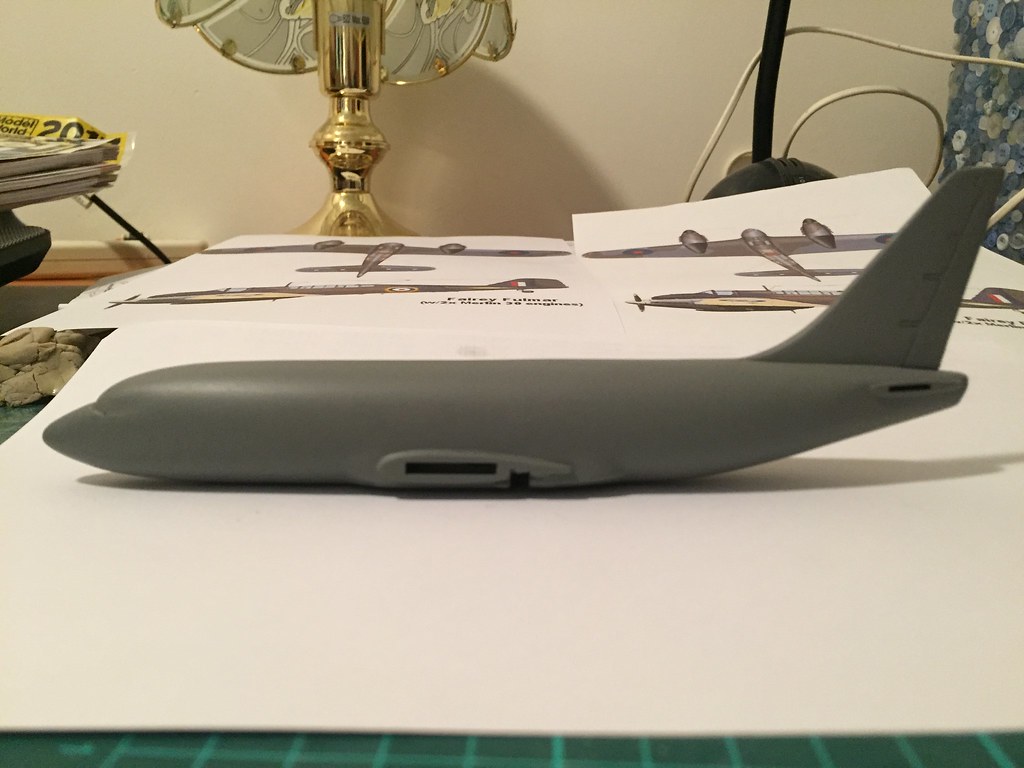
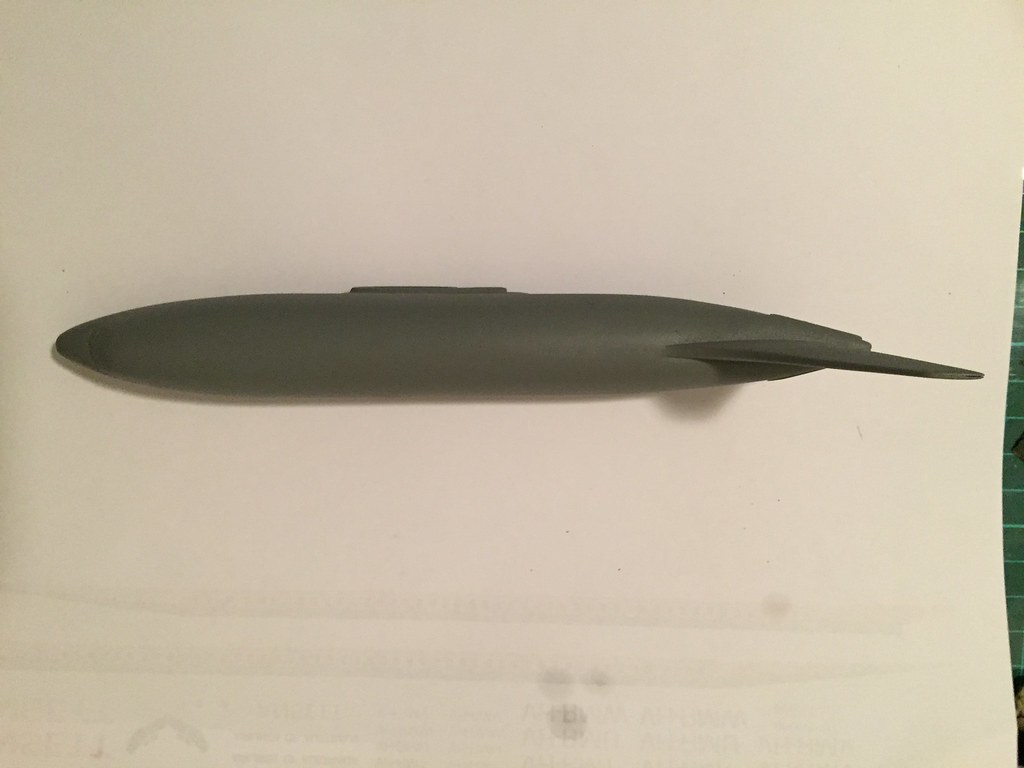
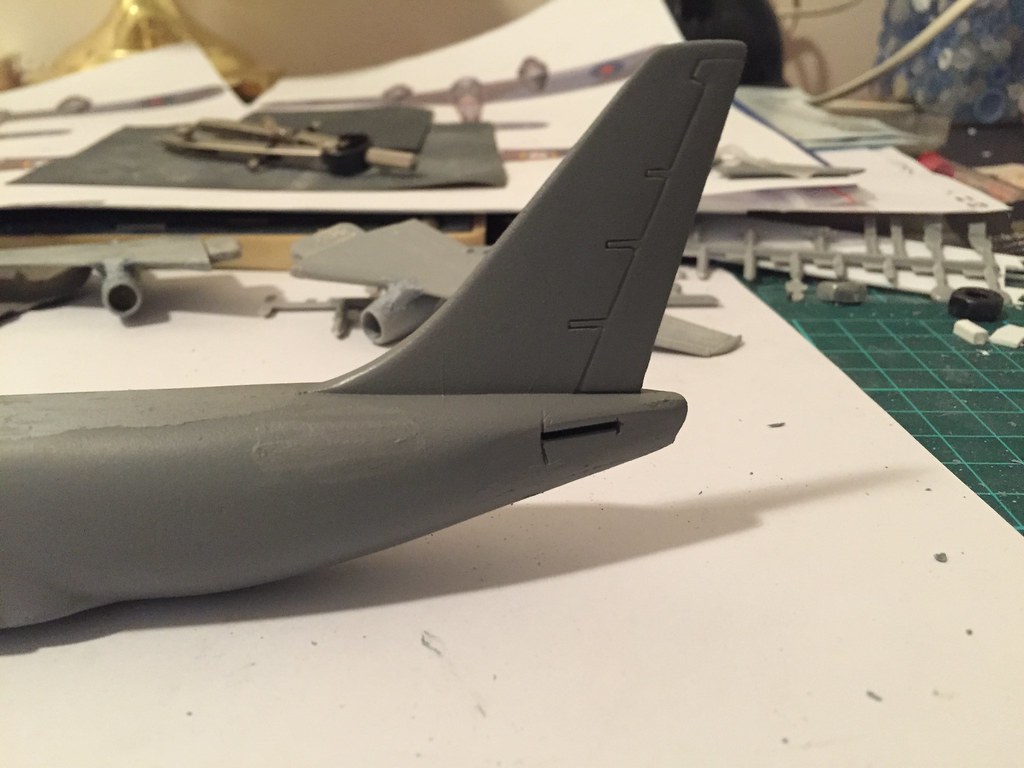
So (third one) I started by sanding one side first to see how it went and eventually the stub disappeared and the concave type surface there started to take shape. Again just by eye from photos figured where the rotation point might be and it looked like at the end of the slot that Airfix had provided so just cut a vertical slot there for the time being instead of drilling and inserting a tube (maybe later). Then I took the dividers and using a point just behind the vertical slot (on "solid" plastic) I arced out a radius where it looked like it was in relation to the horizontal surface again judging from photos.
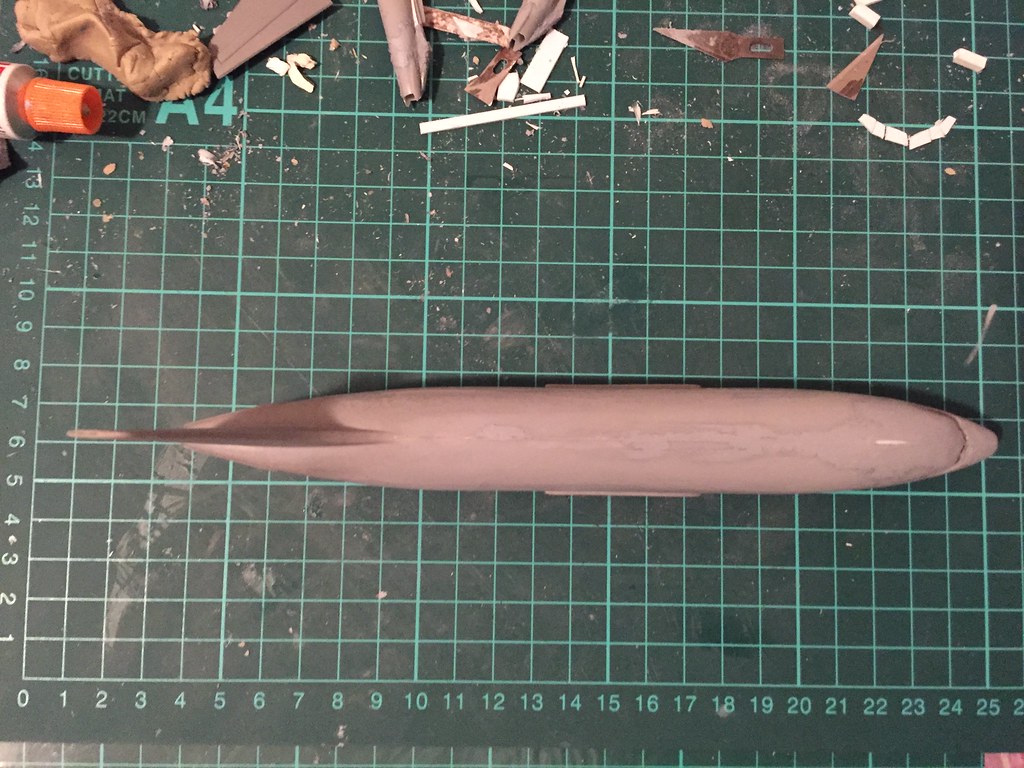
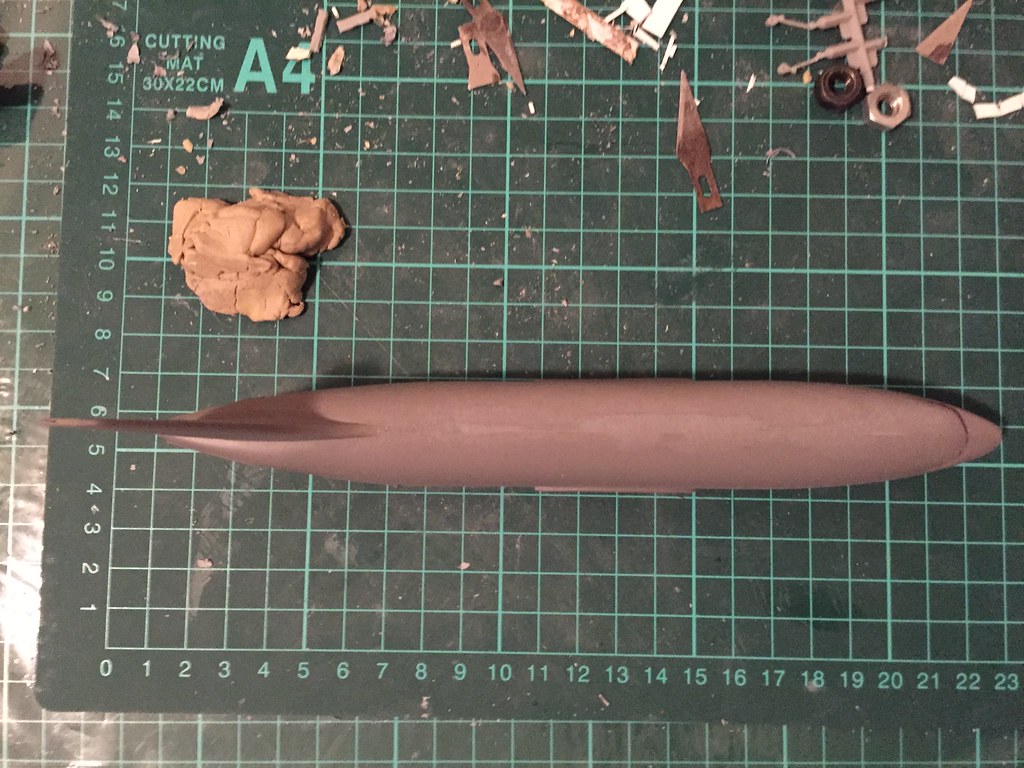
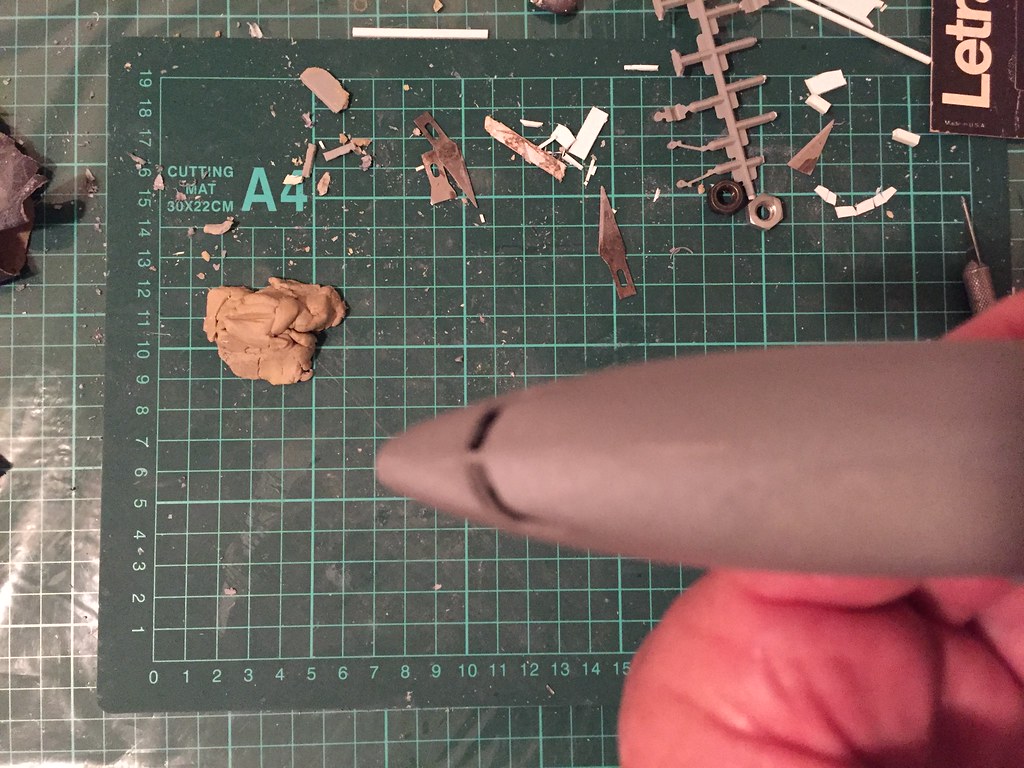
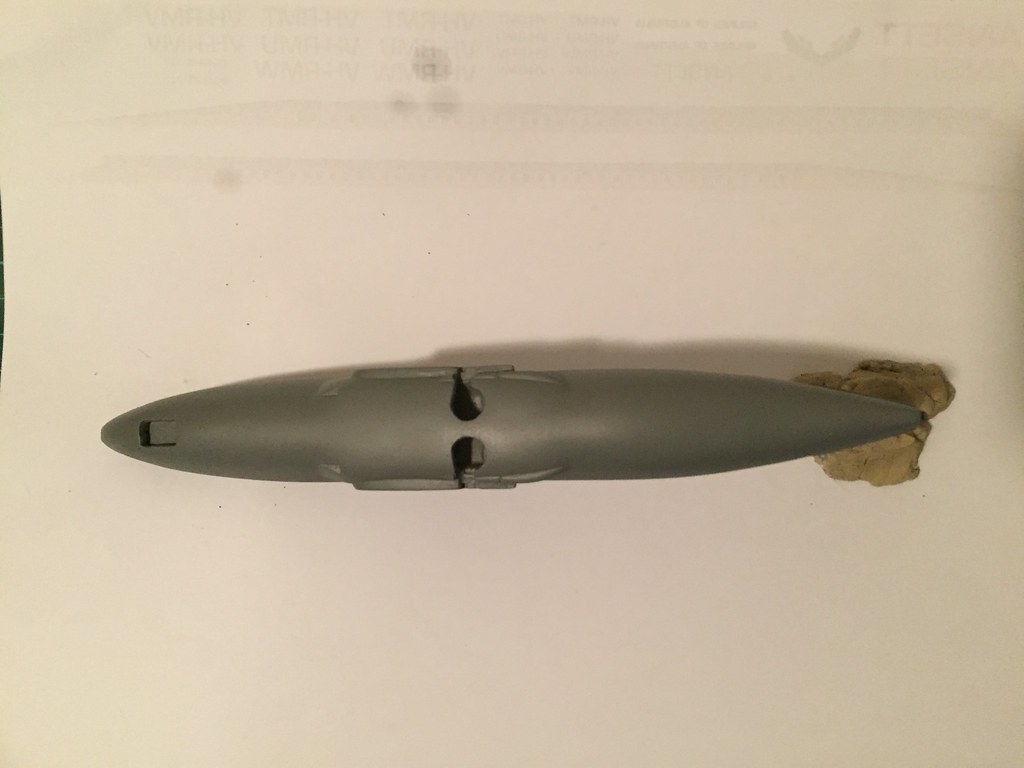
So (bugger another one!) this is what it looks like so far under primer also with the APU area (and other "spots") bogged up for future shaping (as I get some more photos) as if there are no photos it hasn't happened :
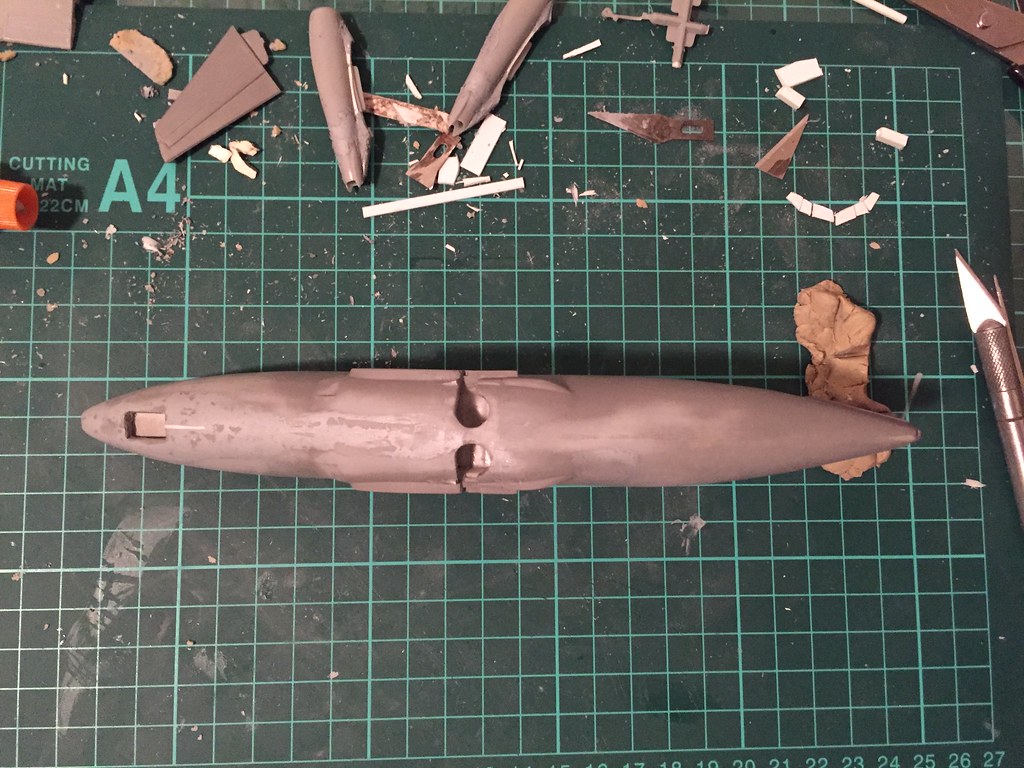
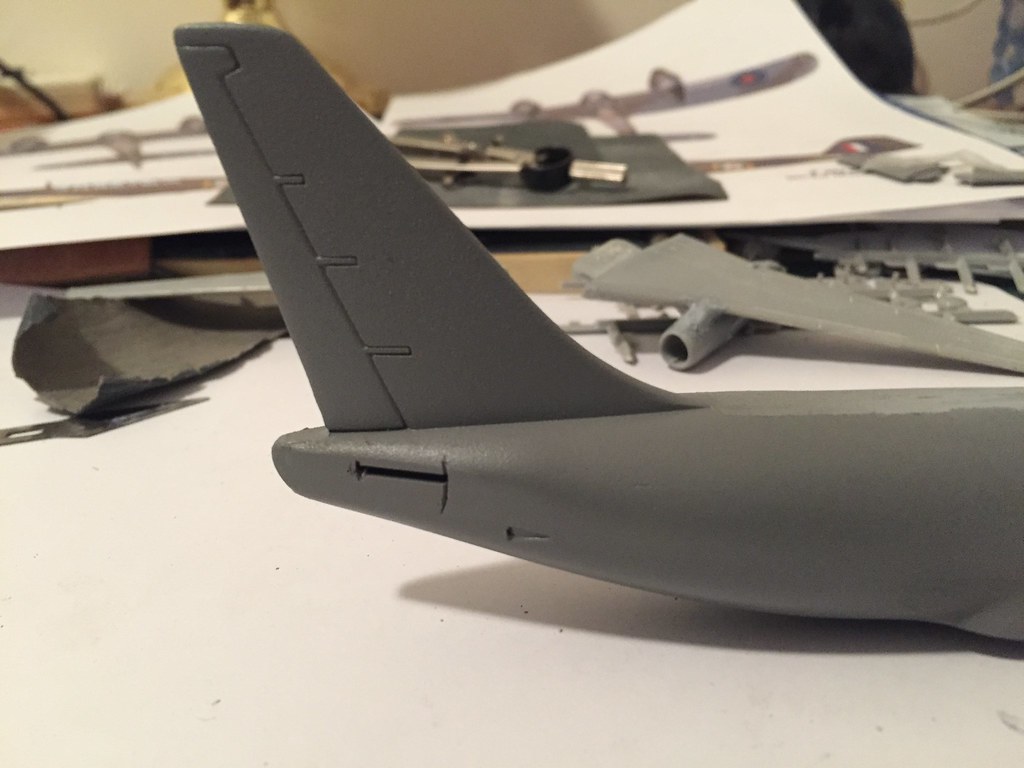
Then (what run out of "So"s?) I decided to continue by doing the other side and again the photo :
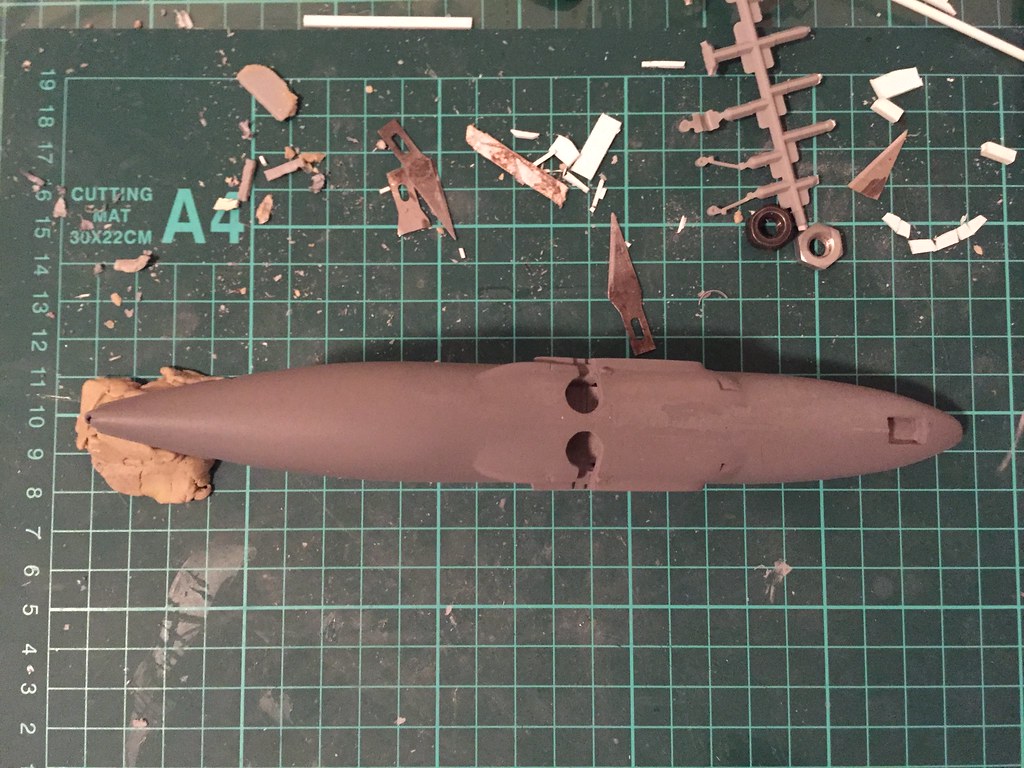
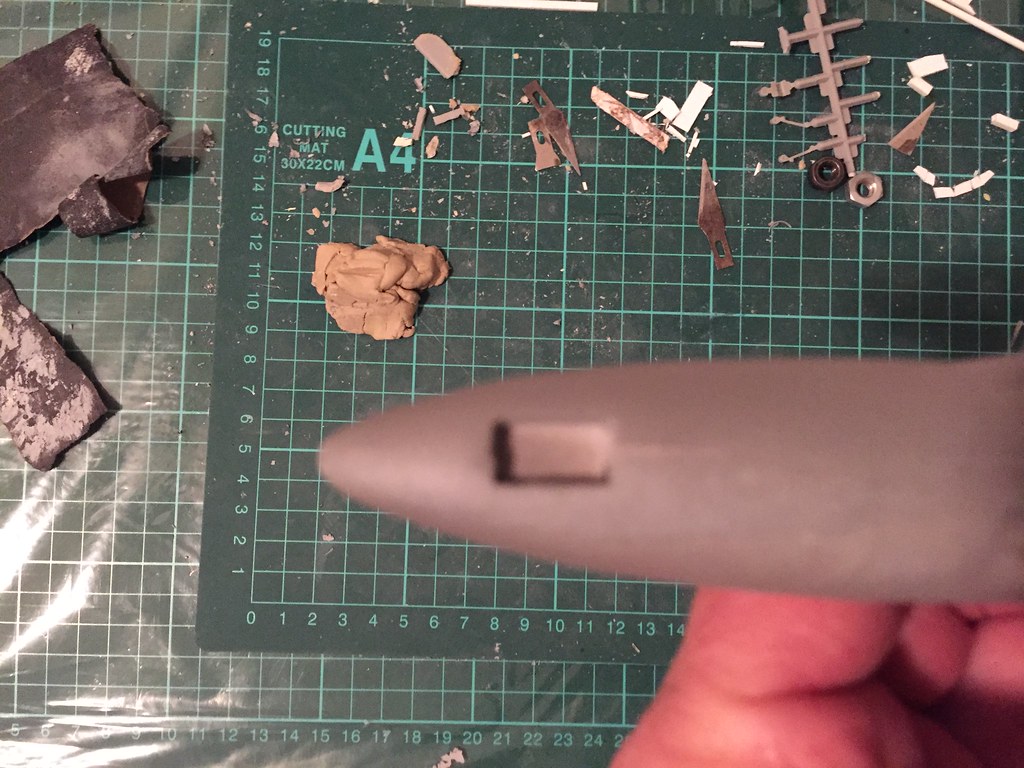
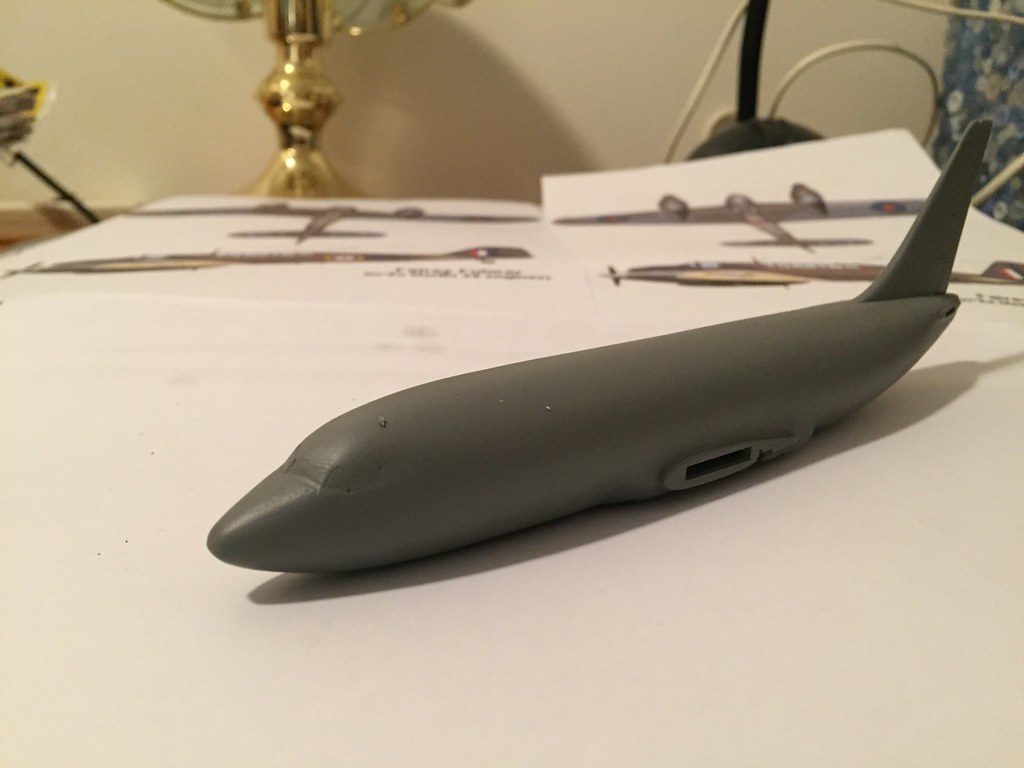
So (found another one just lying around doing nothing) only a start and lots to fix up but it was just meant to be an experiment as I wanted that area to look different to a standard kit and I really really really didn't want to fill between the "Stub" and the Horizontal surfaces.
.

![]() by Ansett A330 » Tue Dec 04, 2018 12:50 am
by Ansett A330 » Tue Dec 04, 2018 12:50 am
Uros wrote:... I will be borowing your idea for the stubs.
Return to Member's Works in Progress
Users browsing this forum: No registered users and 6 guests