1/72 DHC-4 Caribou prototype - Hobby Craft

Show us what's on the bench

Re: 1/72 DHC-4 Caribou prototype - Hobby Craft

Postby 72linerlover » Sat Mar 23, 2019 9:04 pm

So, here I am with an early (for me) weekend update.
I realized how large are the cabin windows, really see-through devices.
I prefer not to blend them as per the instructions, so I decided to scrathcbuild some minor interiors.

This is the floor.
Image

The rails for the seats.
Image

Here a test fit.
Image

And here a first attempt to put the canvas seats on. They are made from a thin plasticard sheet covered by paper.
This kind of paper is still used to cover rib wings for flying models.
Image

The floor and the rails are glued and painted
Image

and the seats are on.
Image

Made some support on the fuselage walls and they seem to play their role with the floor inside.
Image

Added a sort of mesh. Not yet convinced though.
Image

That's all, for now.
Thanks for watching
Eugenio
72linerlover
 
Posts: 70
Joined: Thu Jul 21, 2016 2:50 am
Location: Cremona, Northern Italy

Re: 1/72 DHC-4 Caribou prototype - Hobby Craft

Postby Graeme H » Sun Mar 24, 2019 8:06 am

Really nice work there, love the interior
Graeme
User avatar
Graeme H
 
Posts: 1202
Joined: Thu Jun 05, 2014 12:51 pm
Location: YBTL TSV

Re: 1/72 DHC-4 Caribou prototype - Hobby Craft

Postby hrtpaul » Tue Mar 26, 2019 11:24 am

Just wow :o :o :o
Head A/CAM Phantom Phanatic, Shit Stirrer and Karma Bus Driver toot toot :twisted:
hrtpaul
 
Posts: 4121
Joined: Sat Apr 12, 2014 10:44 am
Location: Like I'm gonna tell you lot

Re: 1/72 DHC-4 Caribou prototype - Hobby Craft

Postby F-27pax » Thu Mar 28, 2019 11:23 am

hrtpaul wrote:Just wow :o :o :o


I agree!
F-27pax
 
Posts: 973
Joined: Fri Apr 18, 2014 11:40 pm

Re: 1/72 DHC-4 Caribou prototype - Hobby Craft

Postby 72linerlover » Mon Apr 01, 2019 5:53 am

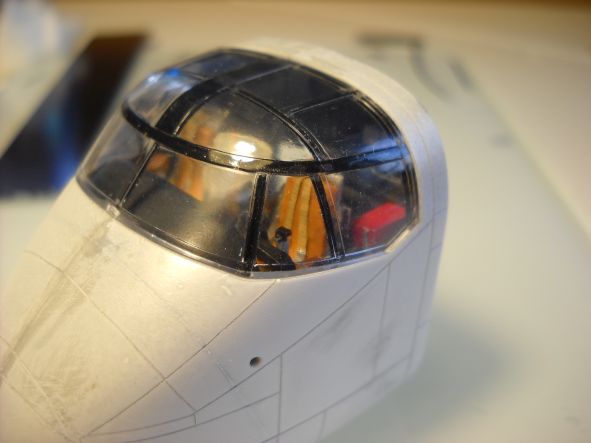
Thank you very much, sirs, for your appreciation.
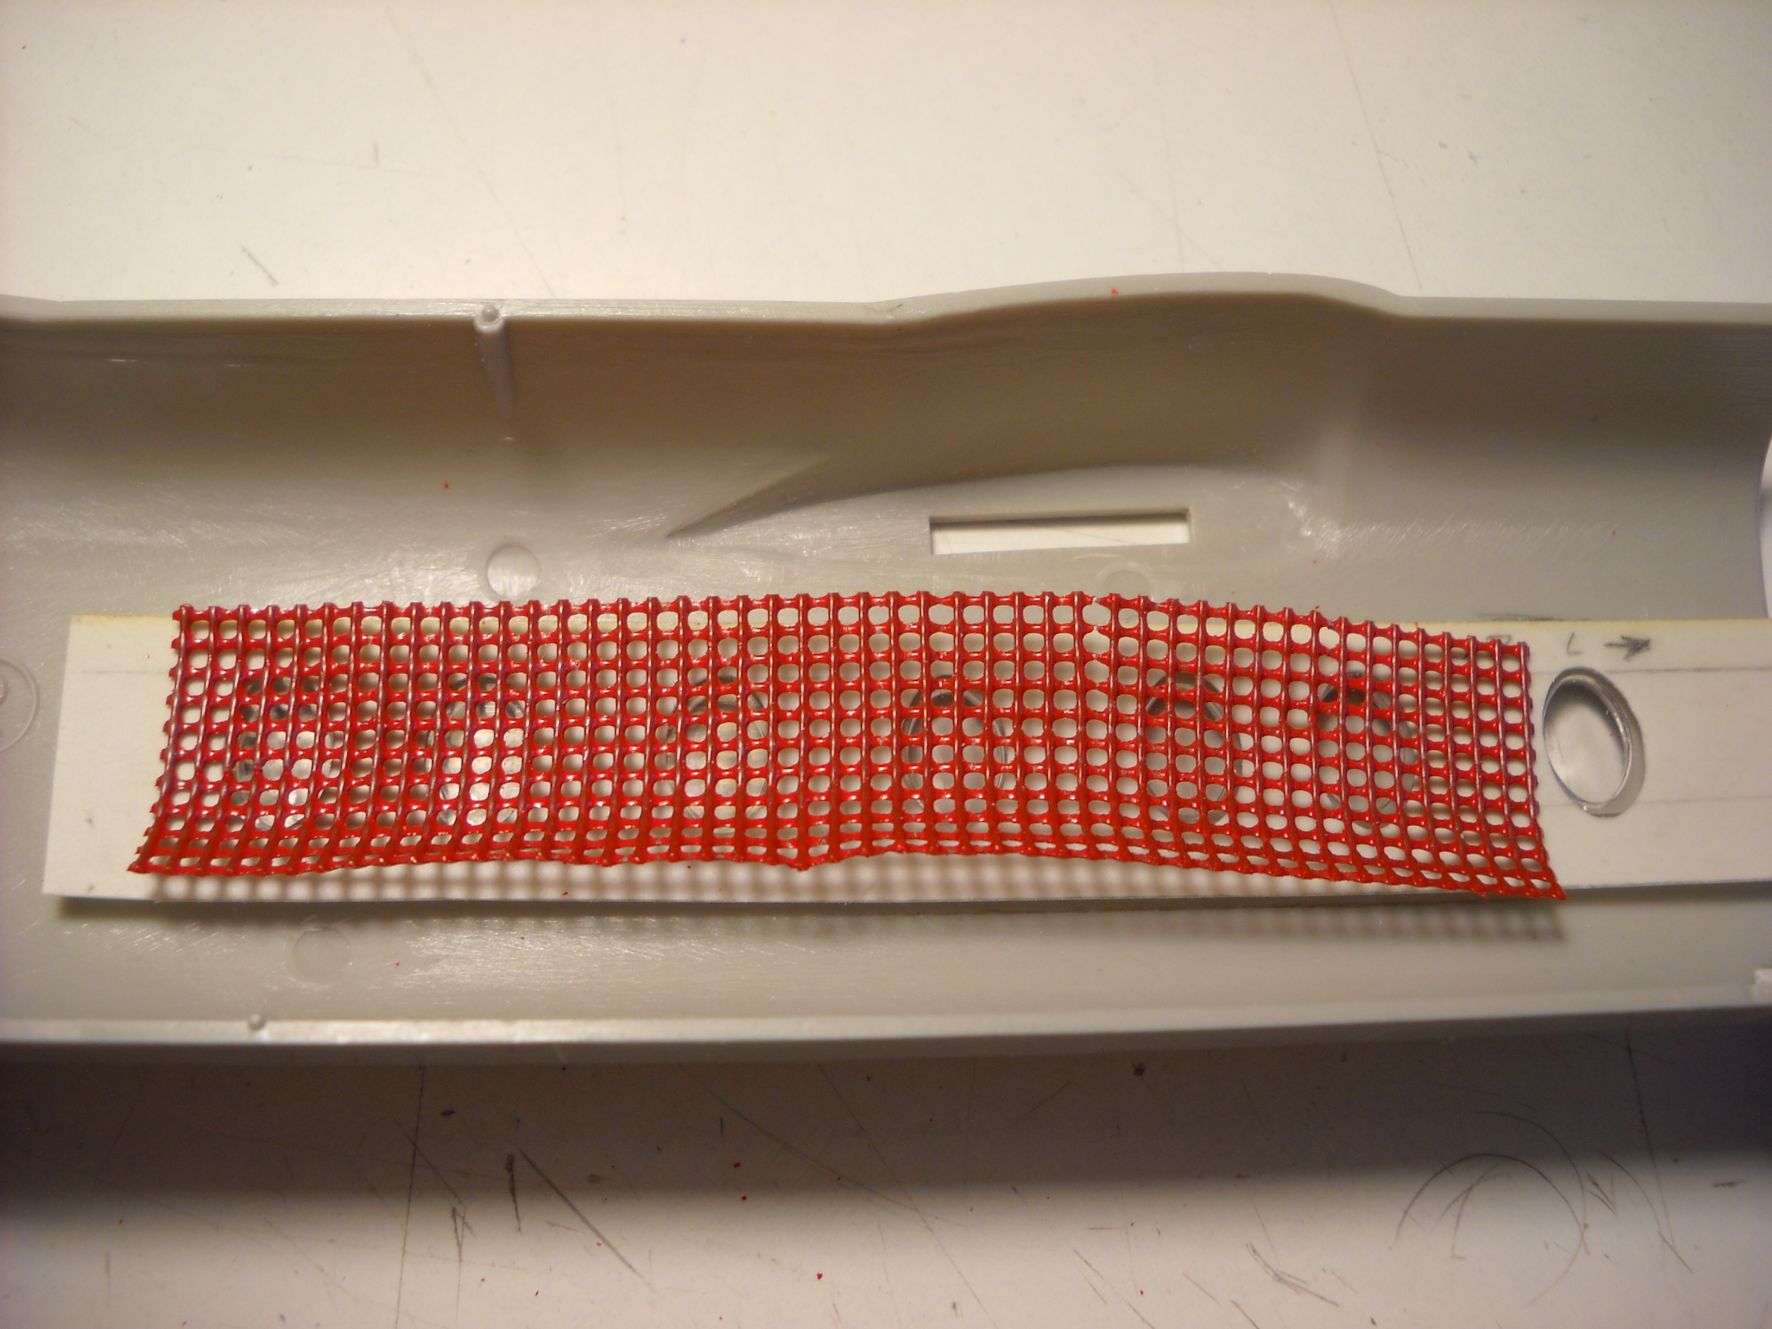
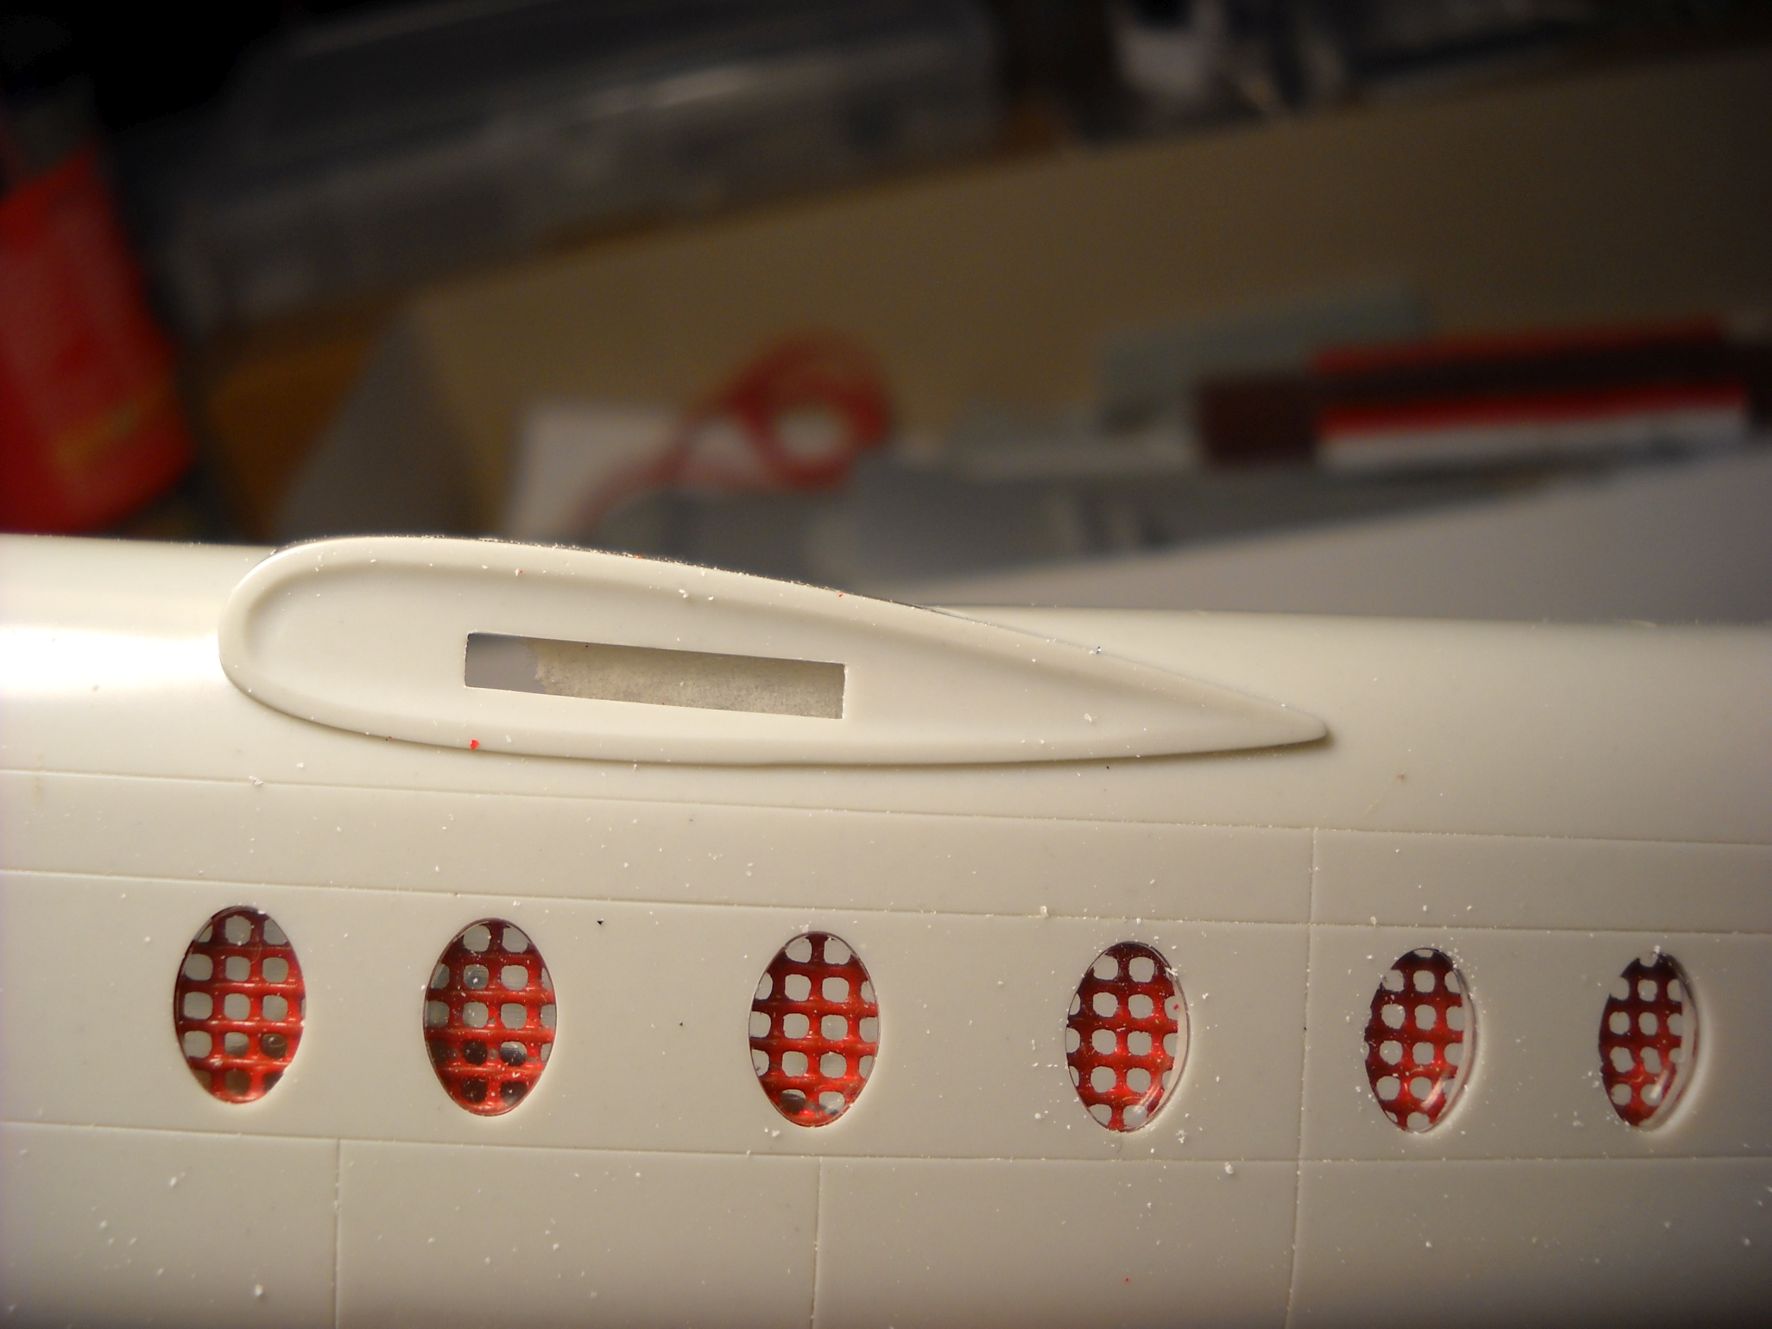
Not really too much "wowing" of: it's only some little add to avoid an empty look.

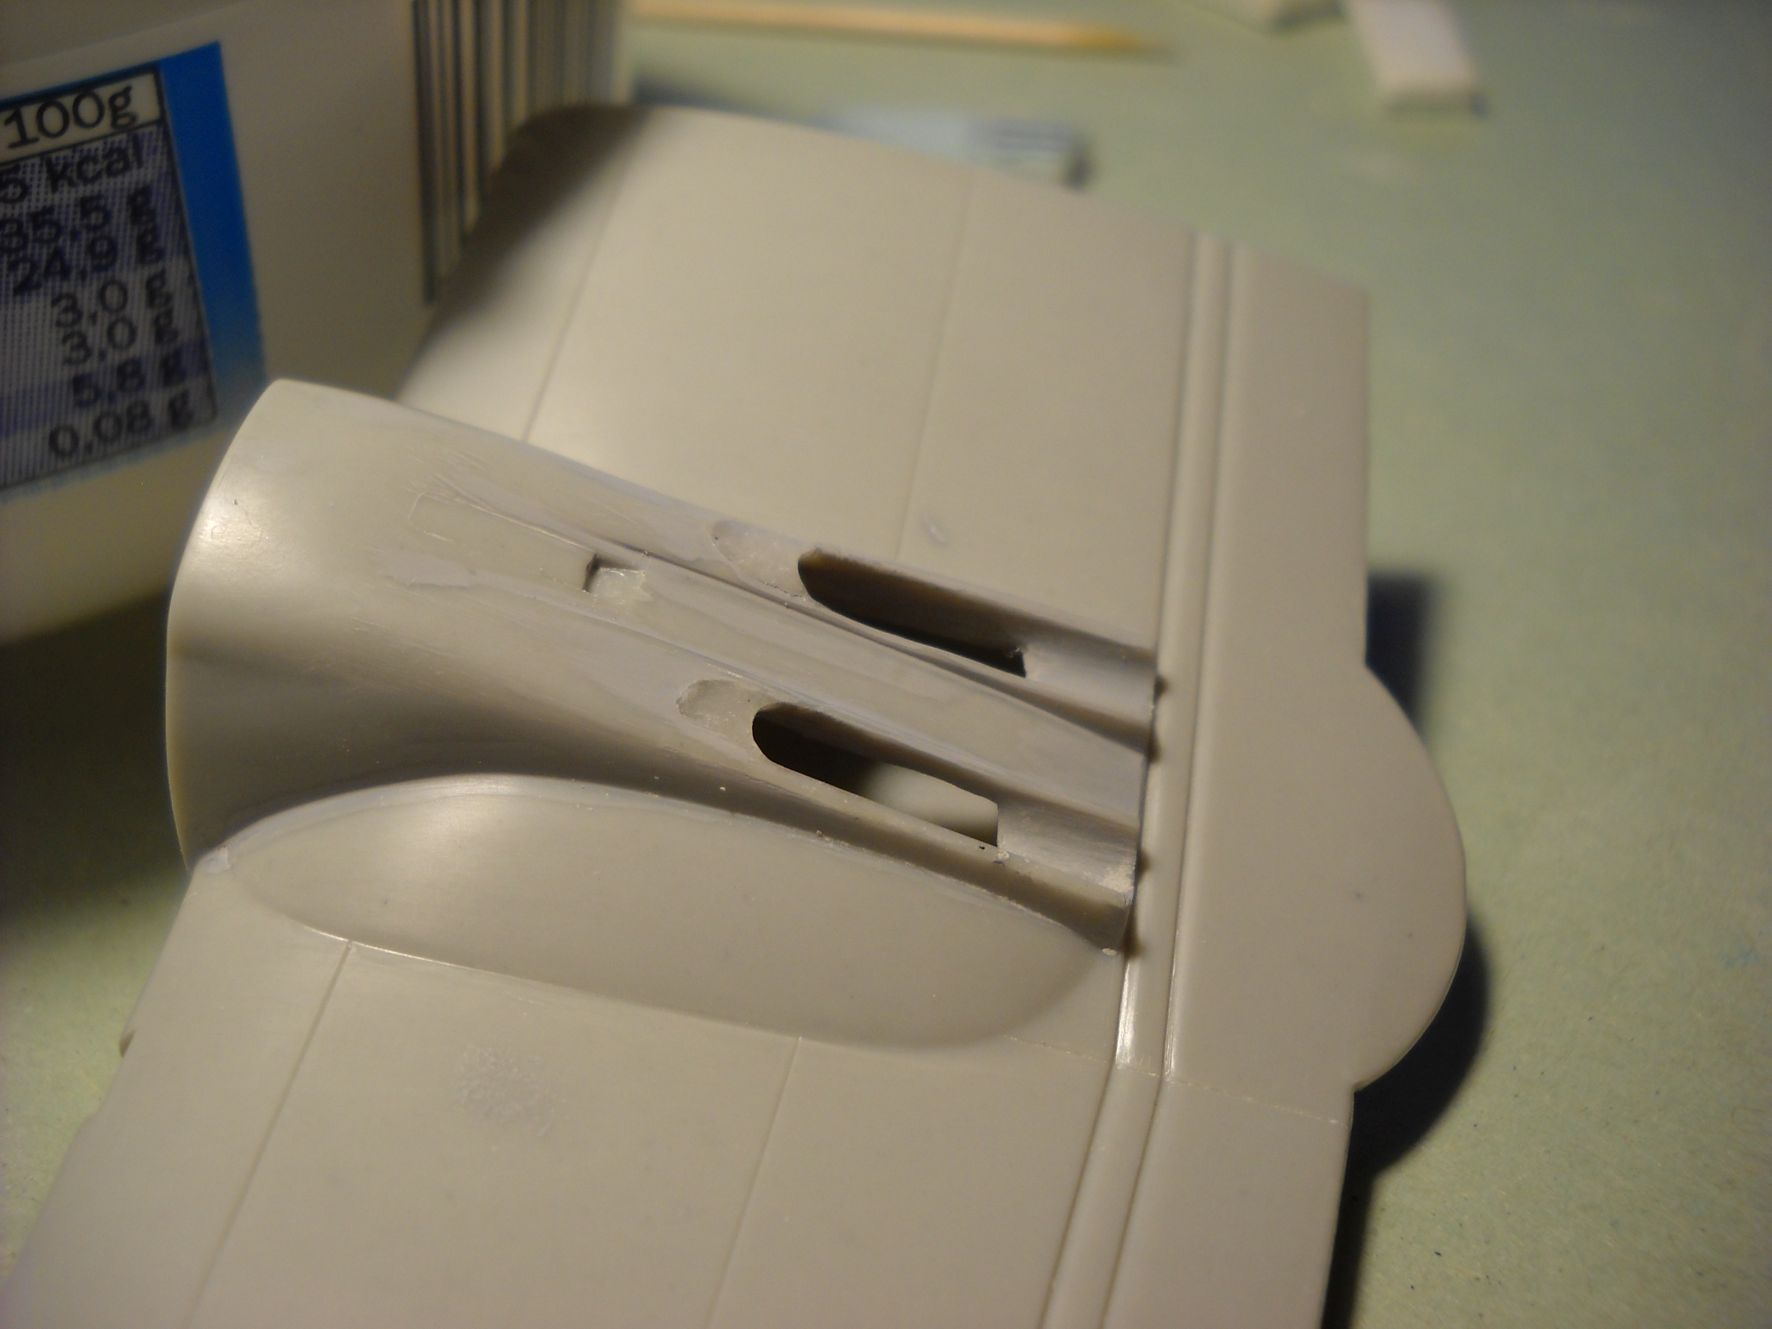
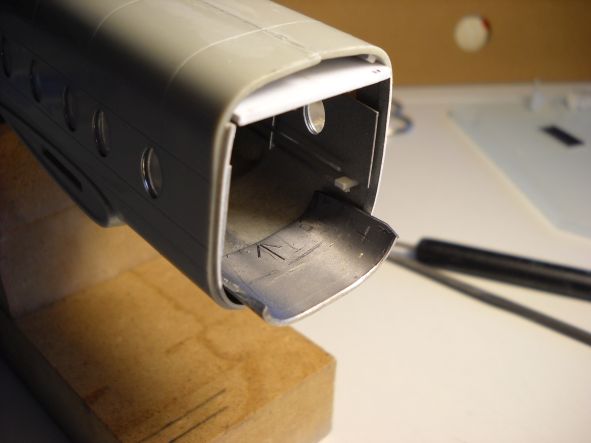
Now to one of the biggest problem of this build: balancing.
As you know, the prototype had a shorter nose, so the weight of the long tail has to be balanced with a lot of ballast fore of the lifting point.

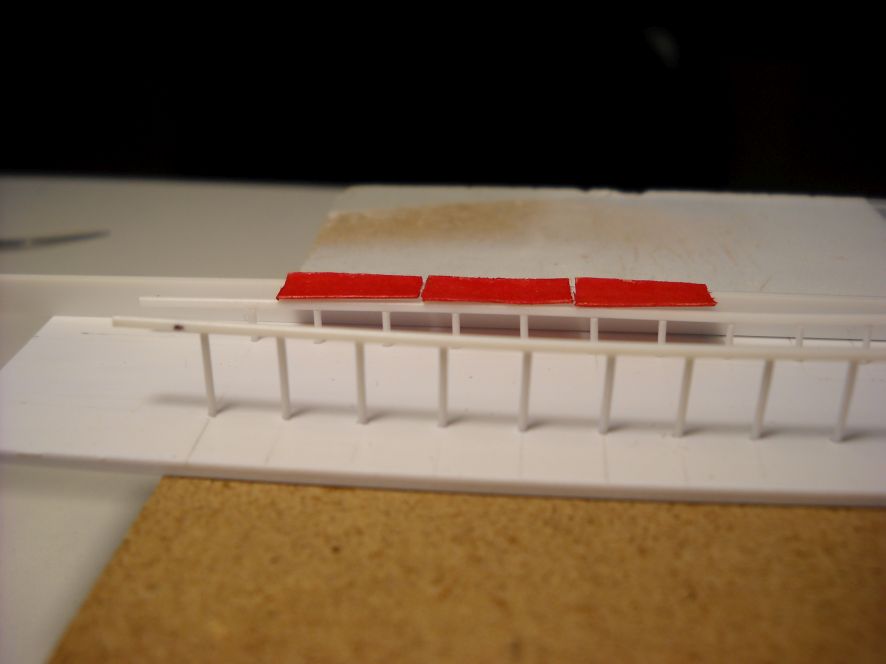
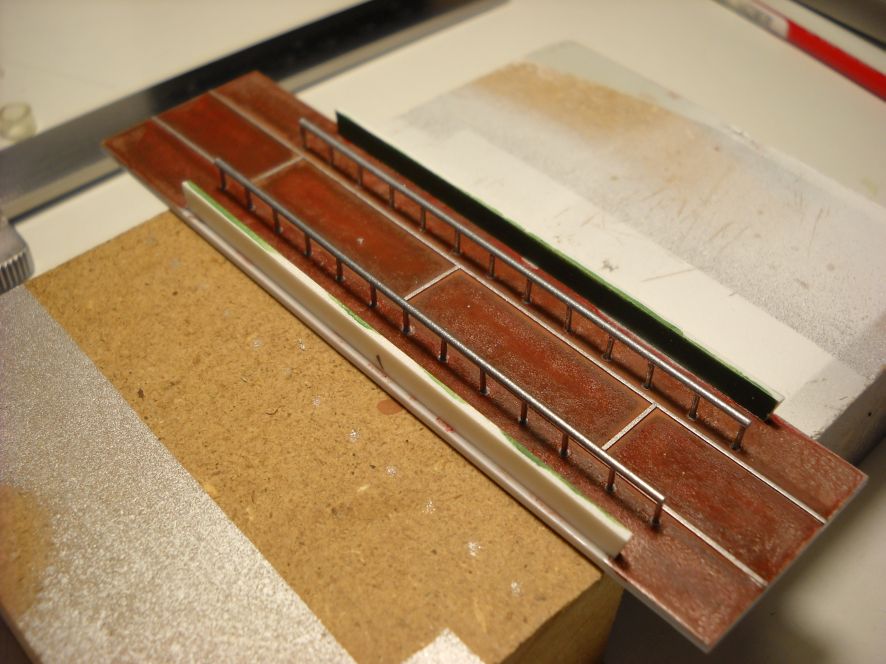
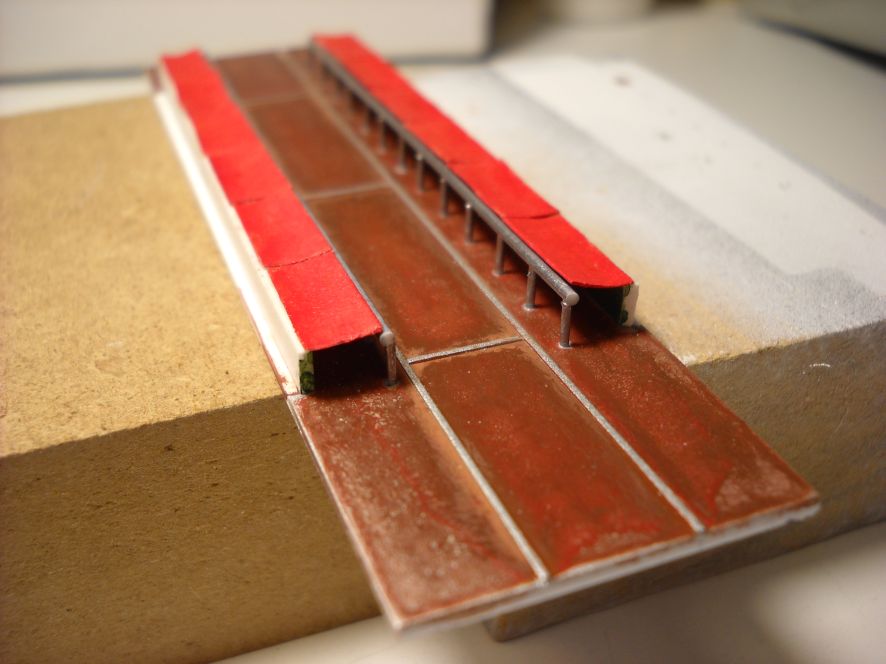
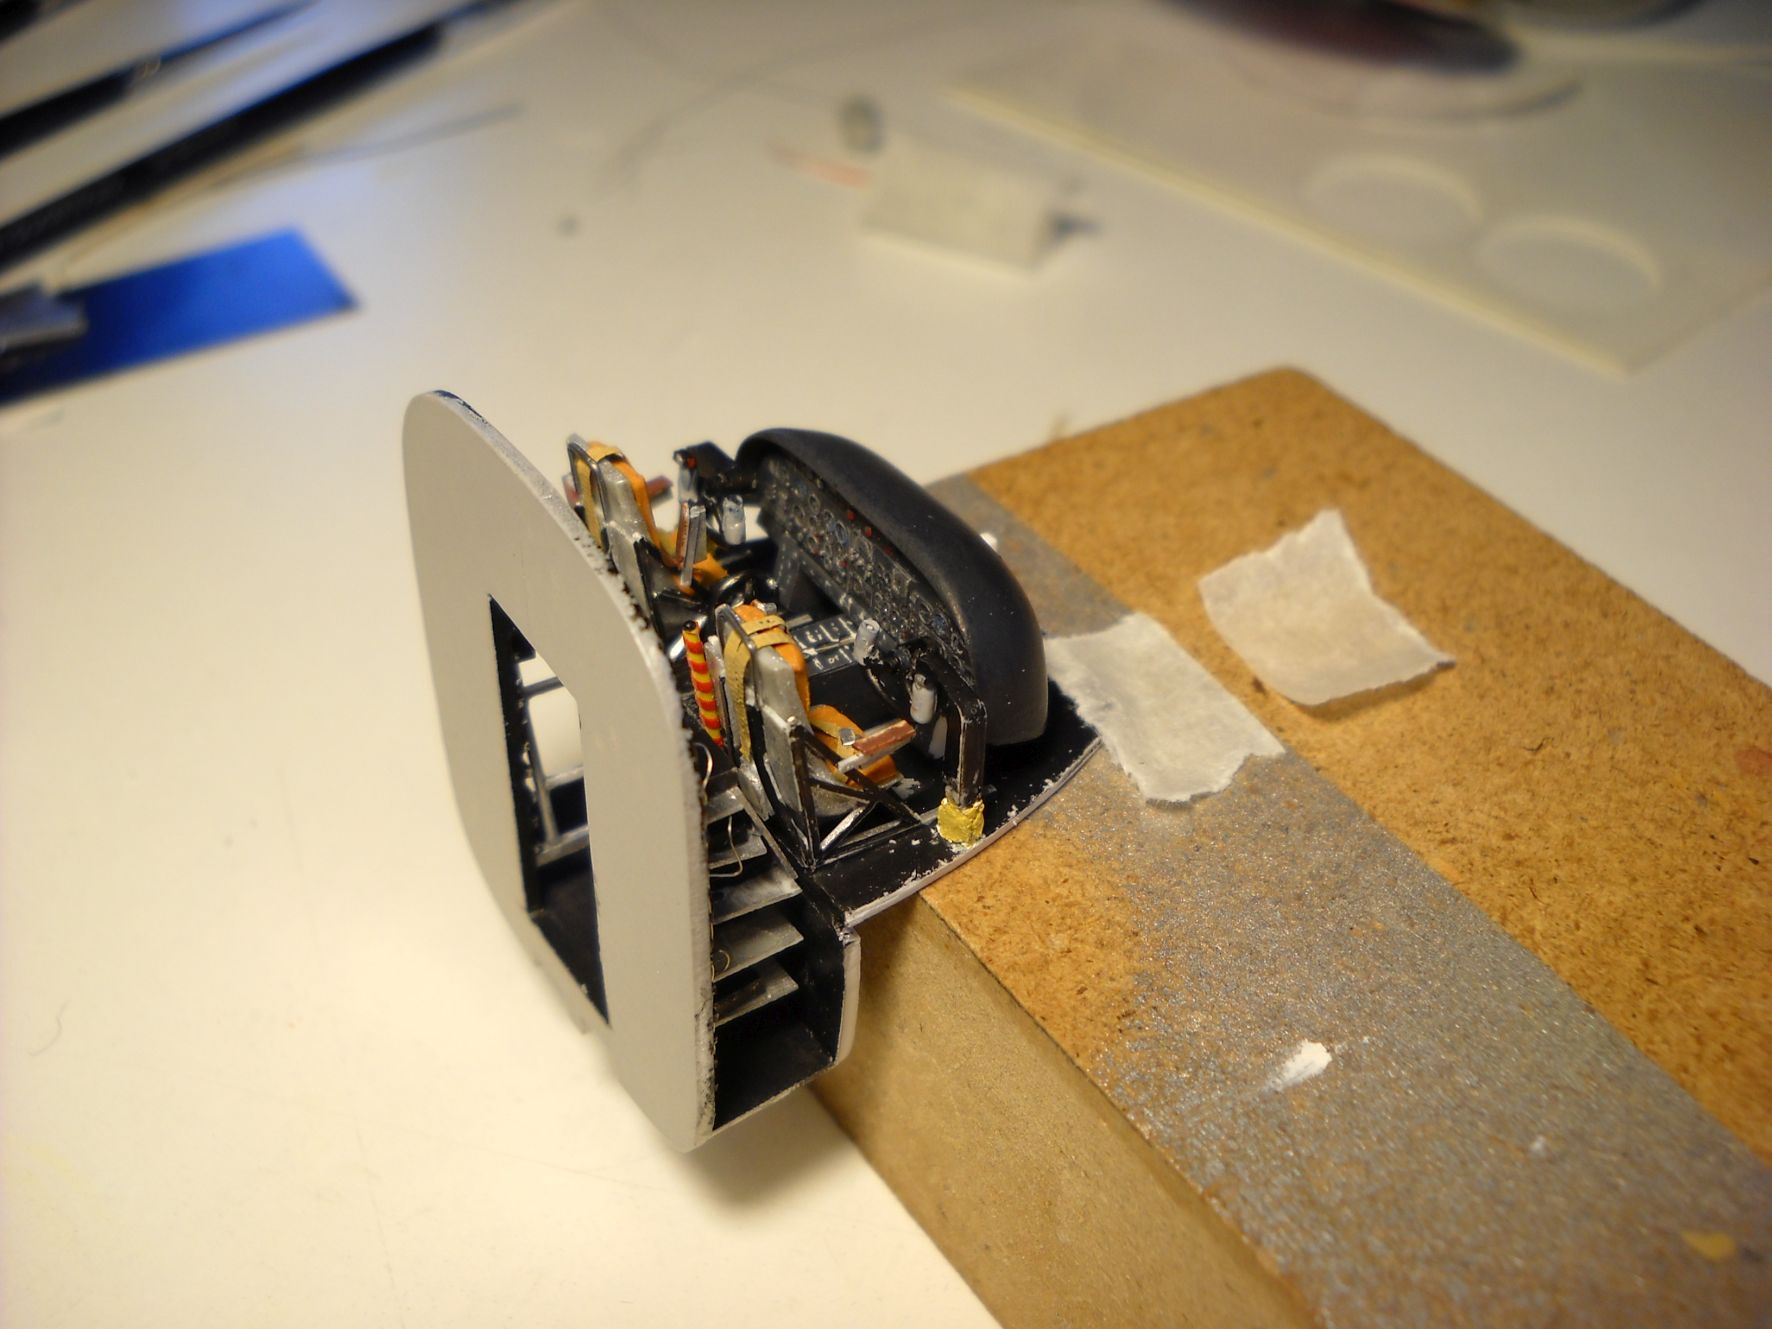
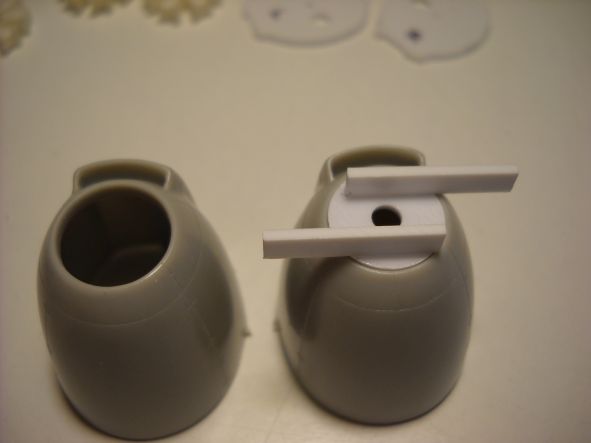
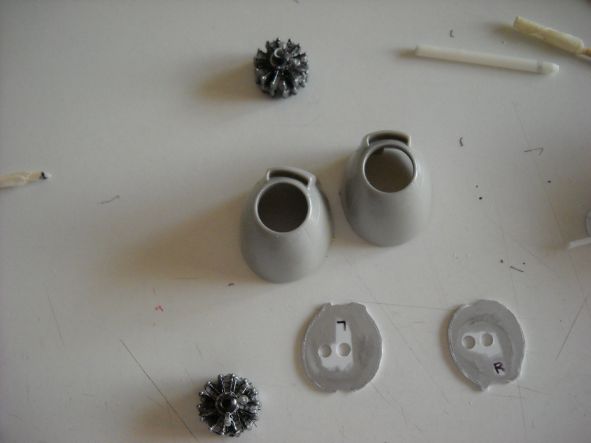
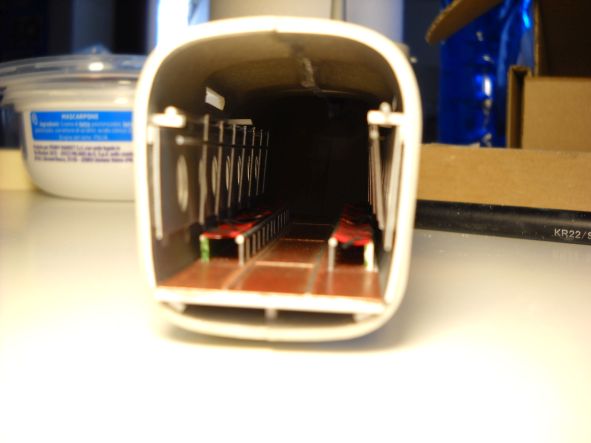
You can see here the smount of lead in the front of the fuselage.
Image

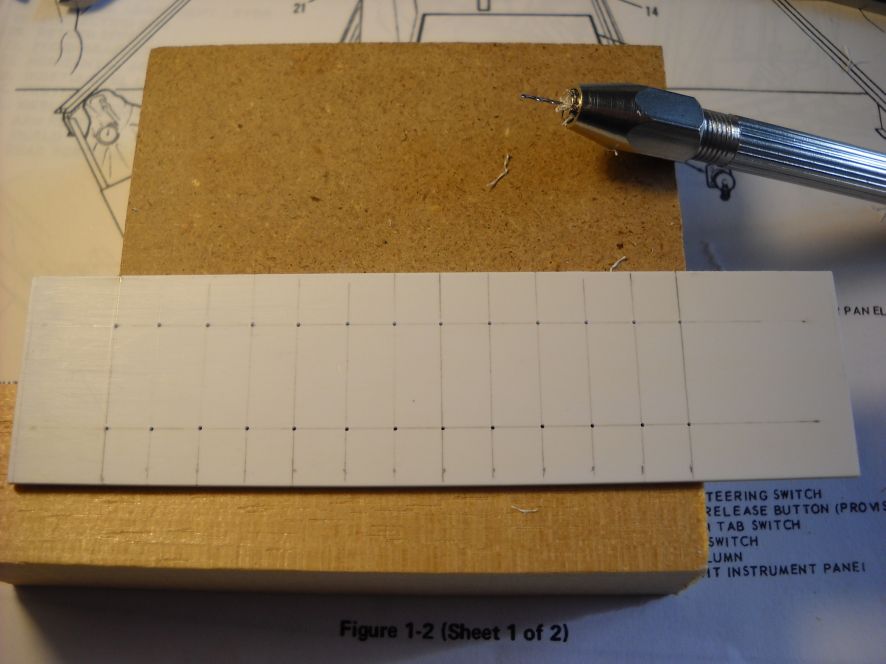
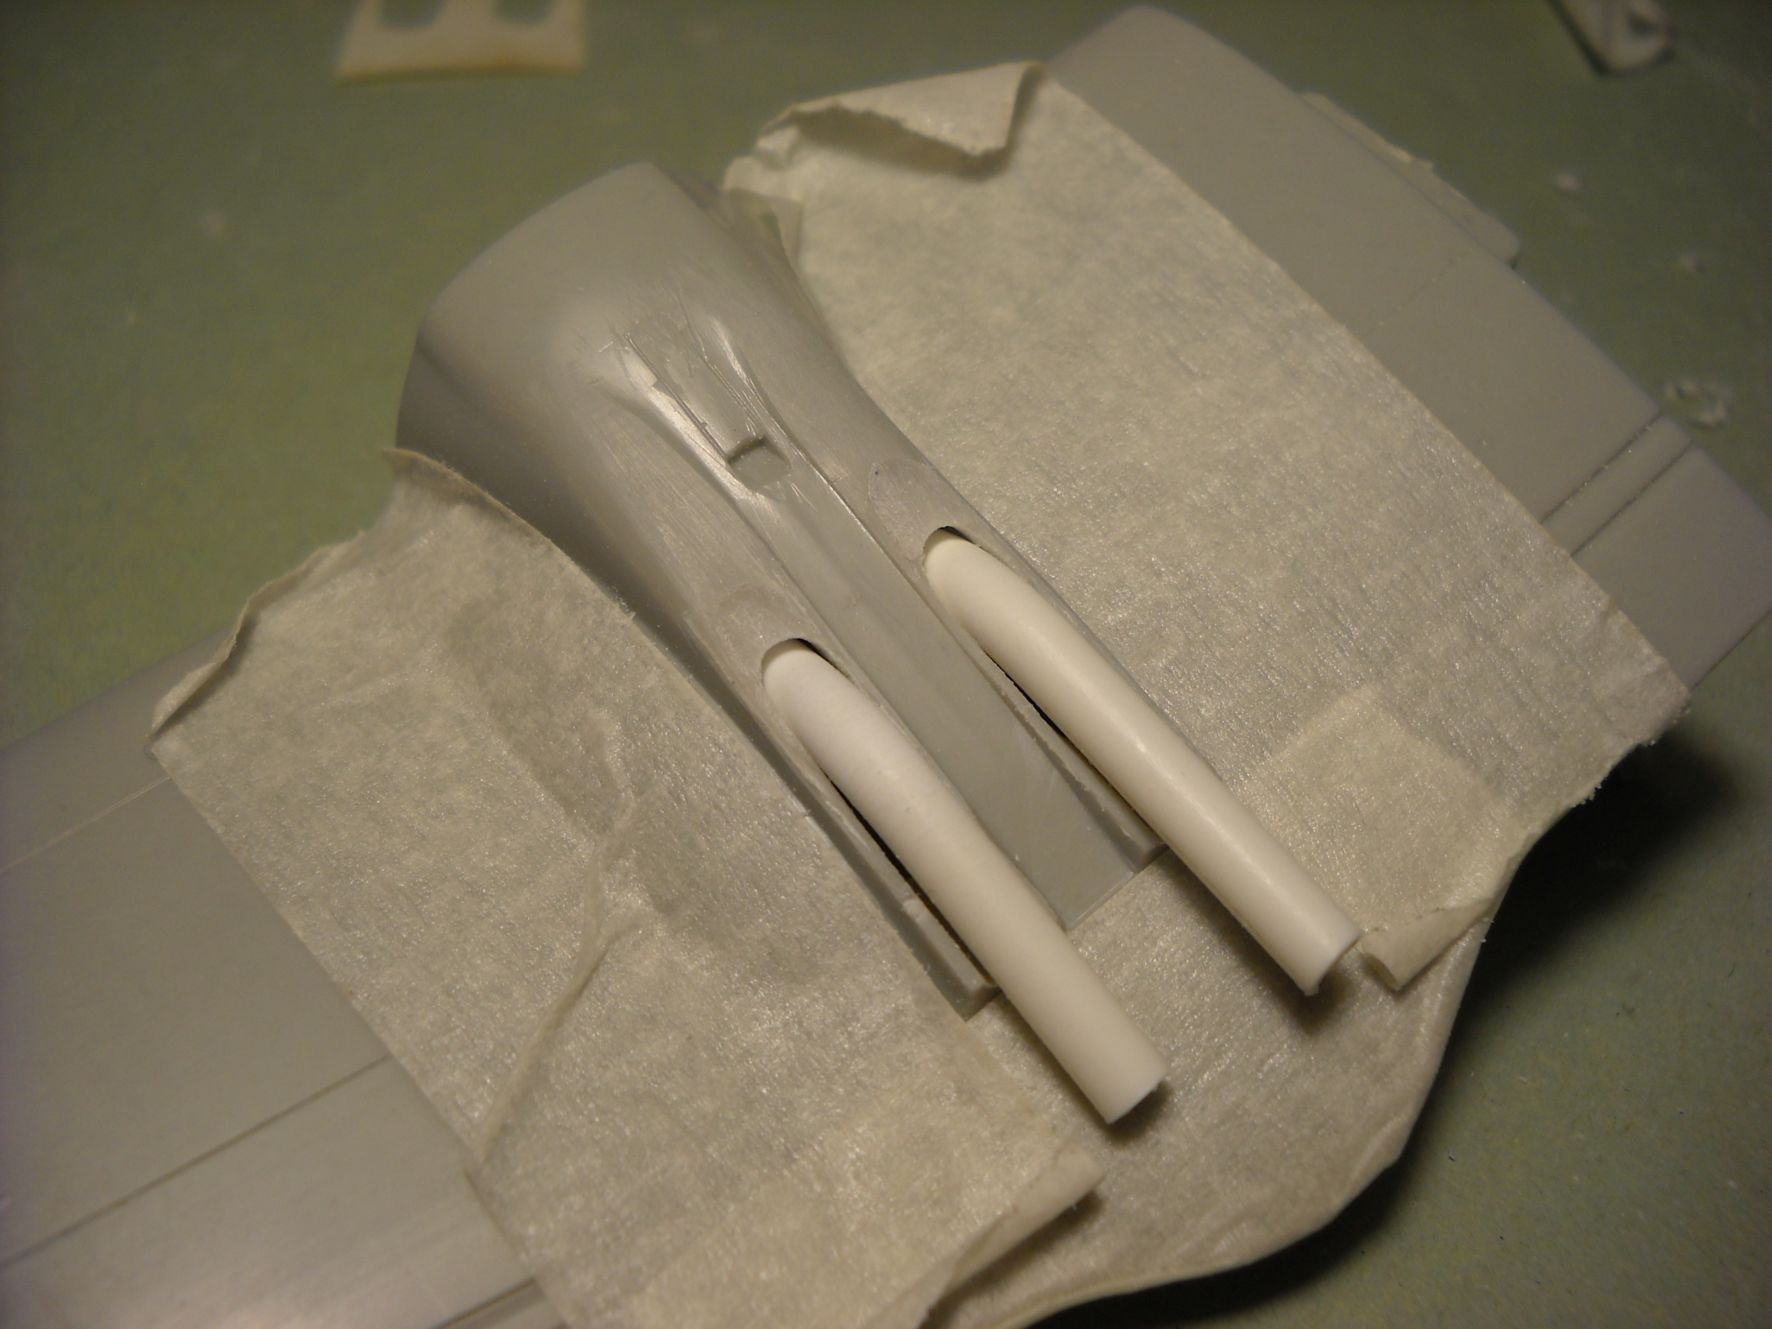
I cut some cardboard template to test how much ballast I can put inside.
Image

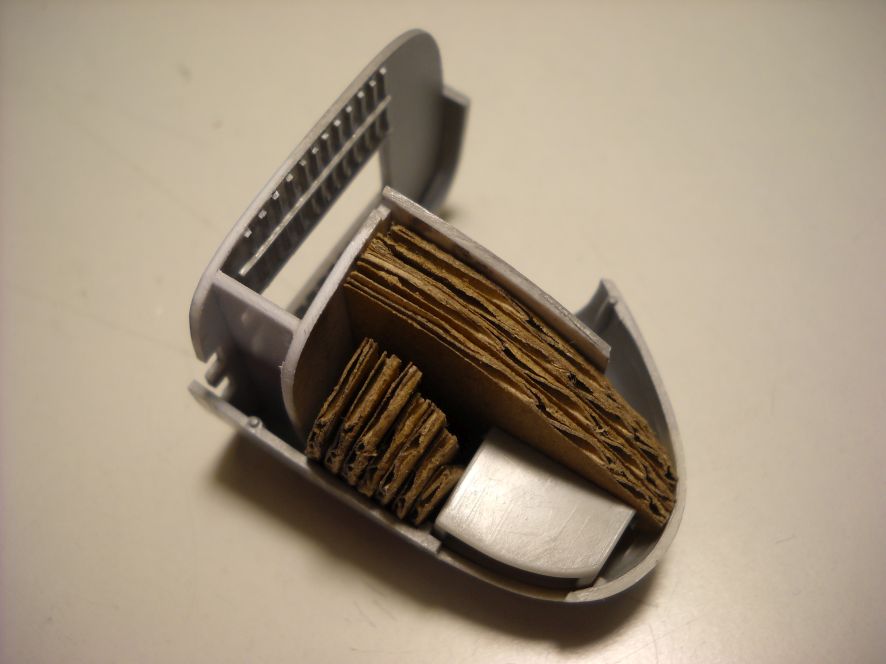
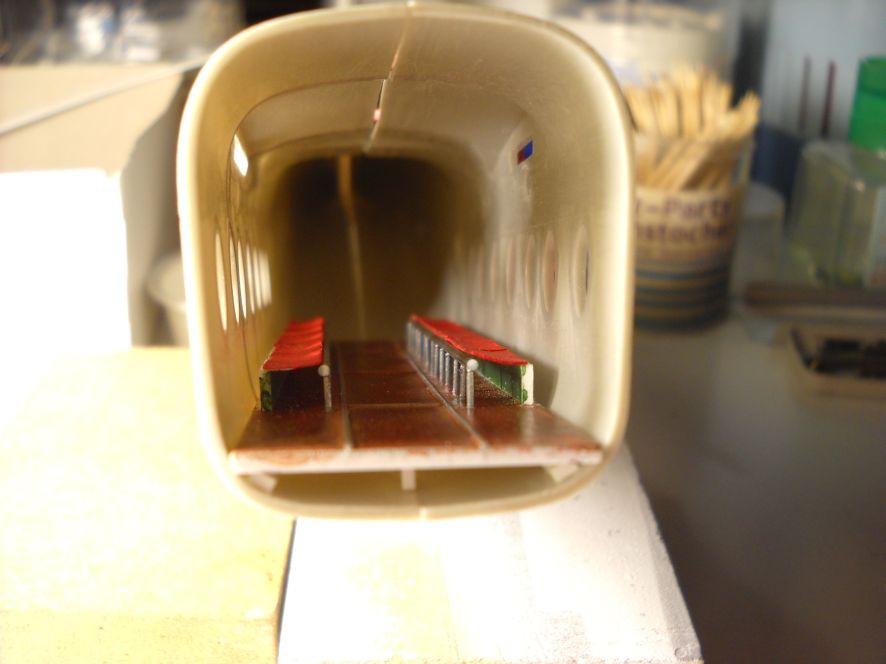
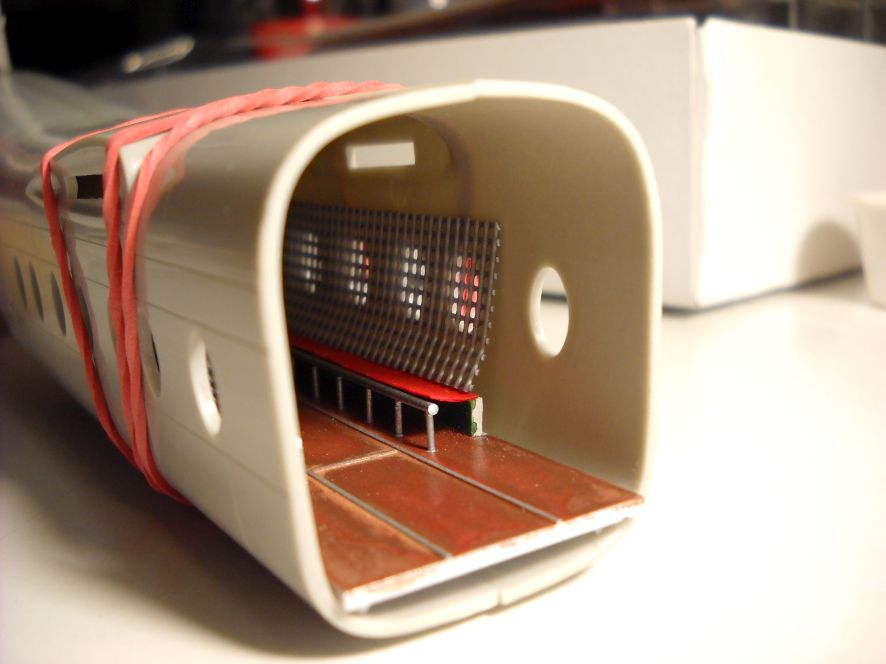
Ballast in position.
Image

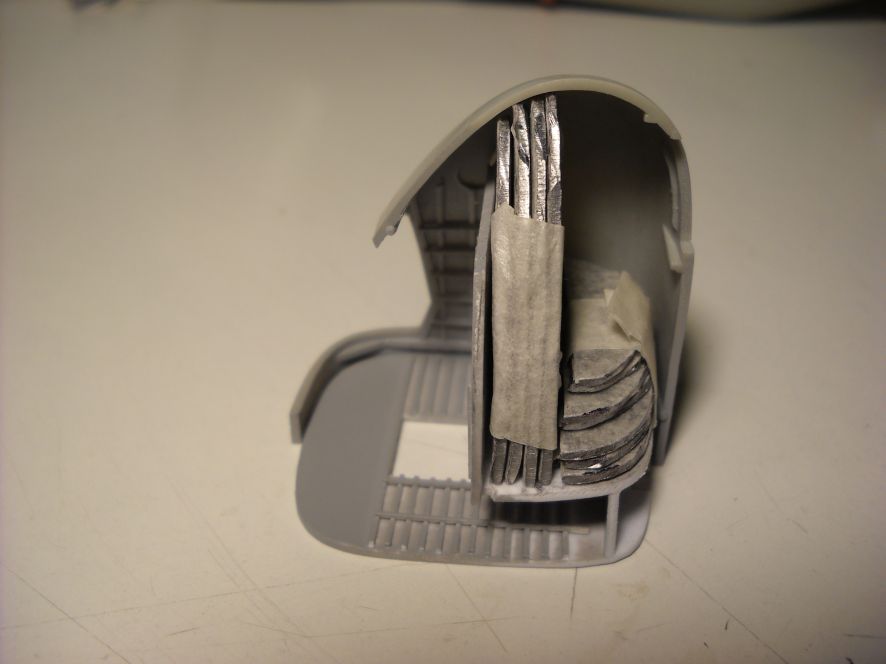
It's incredible but at the end the ballast weight is 50 grams! (oh poor main landing gear).

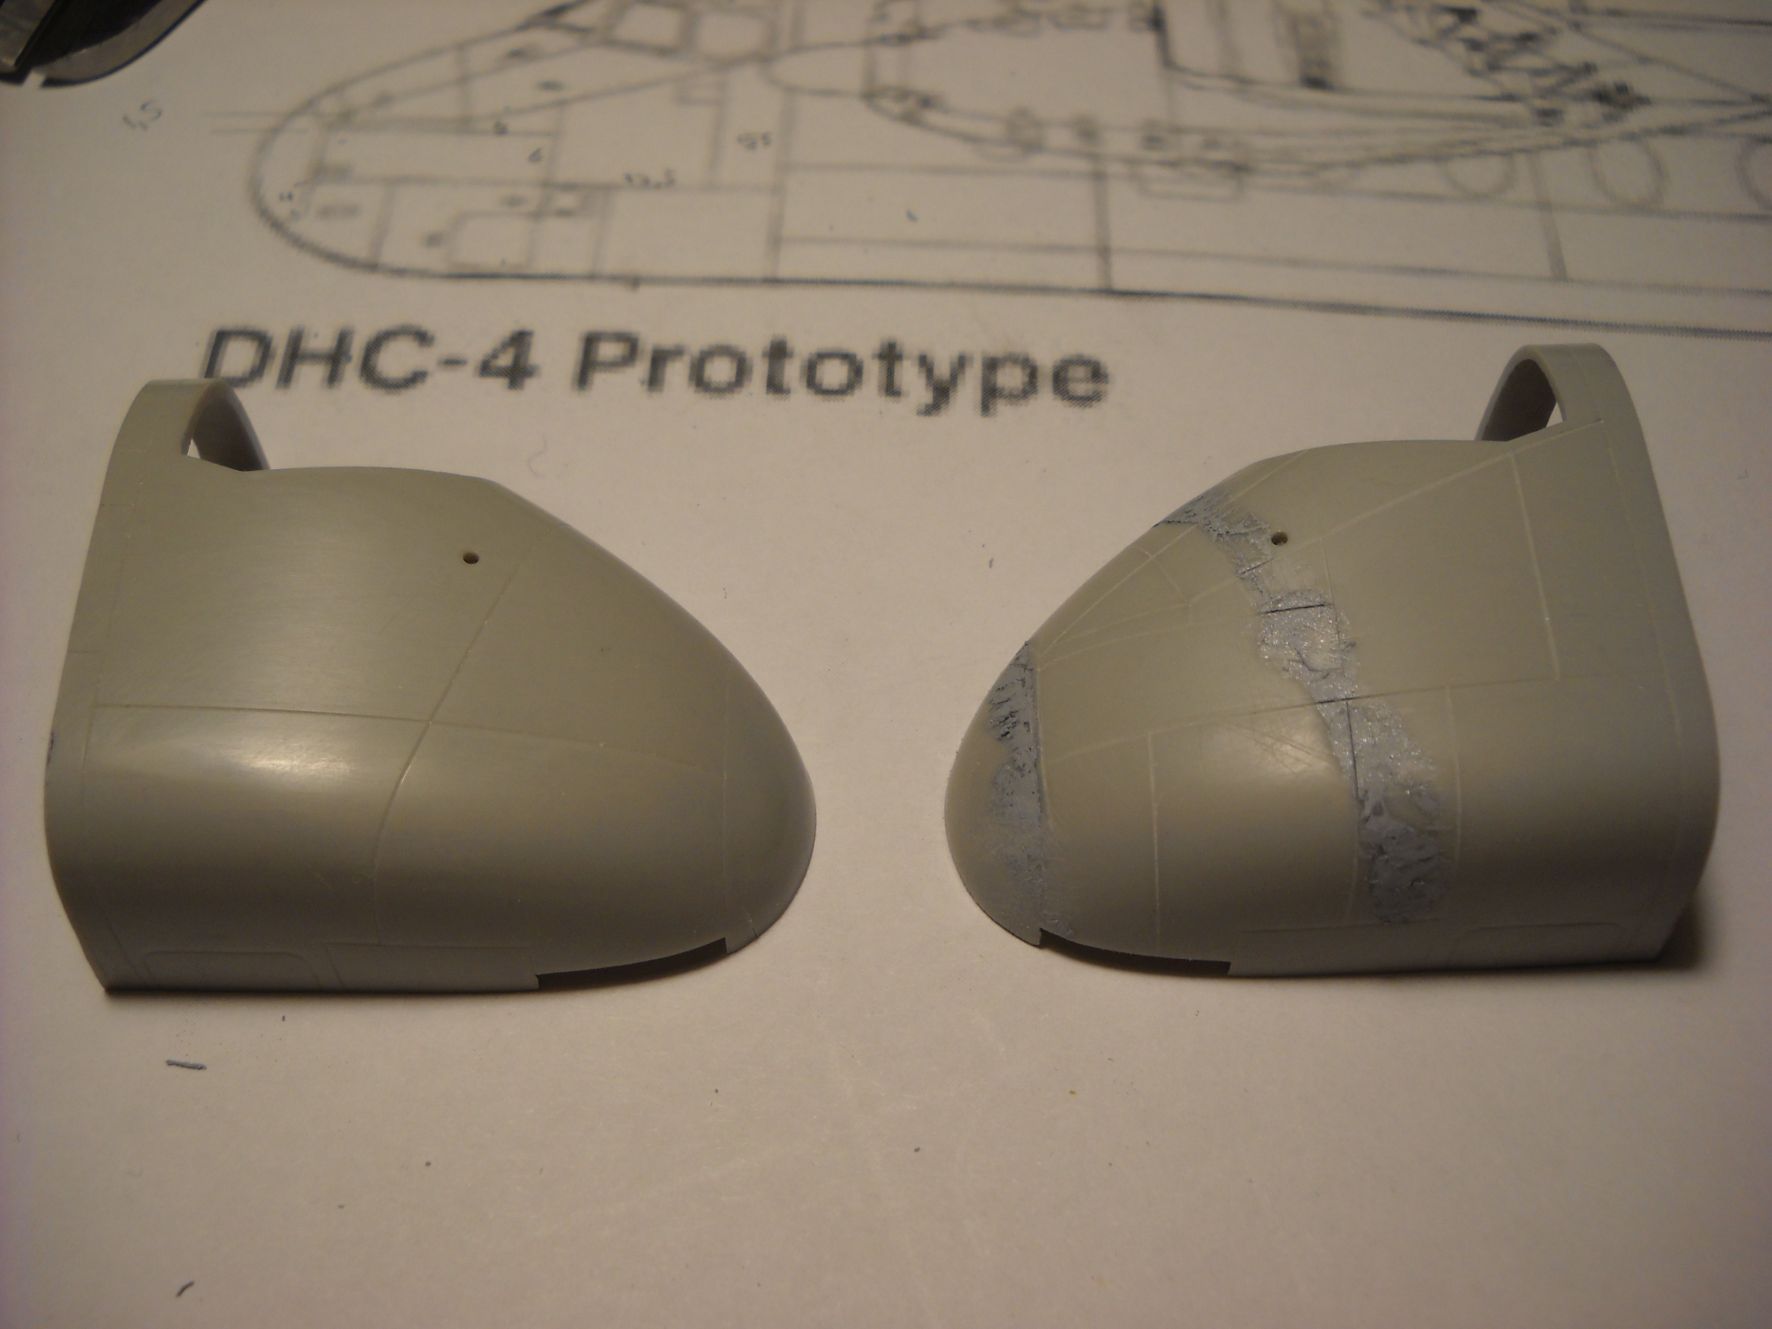
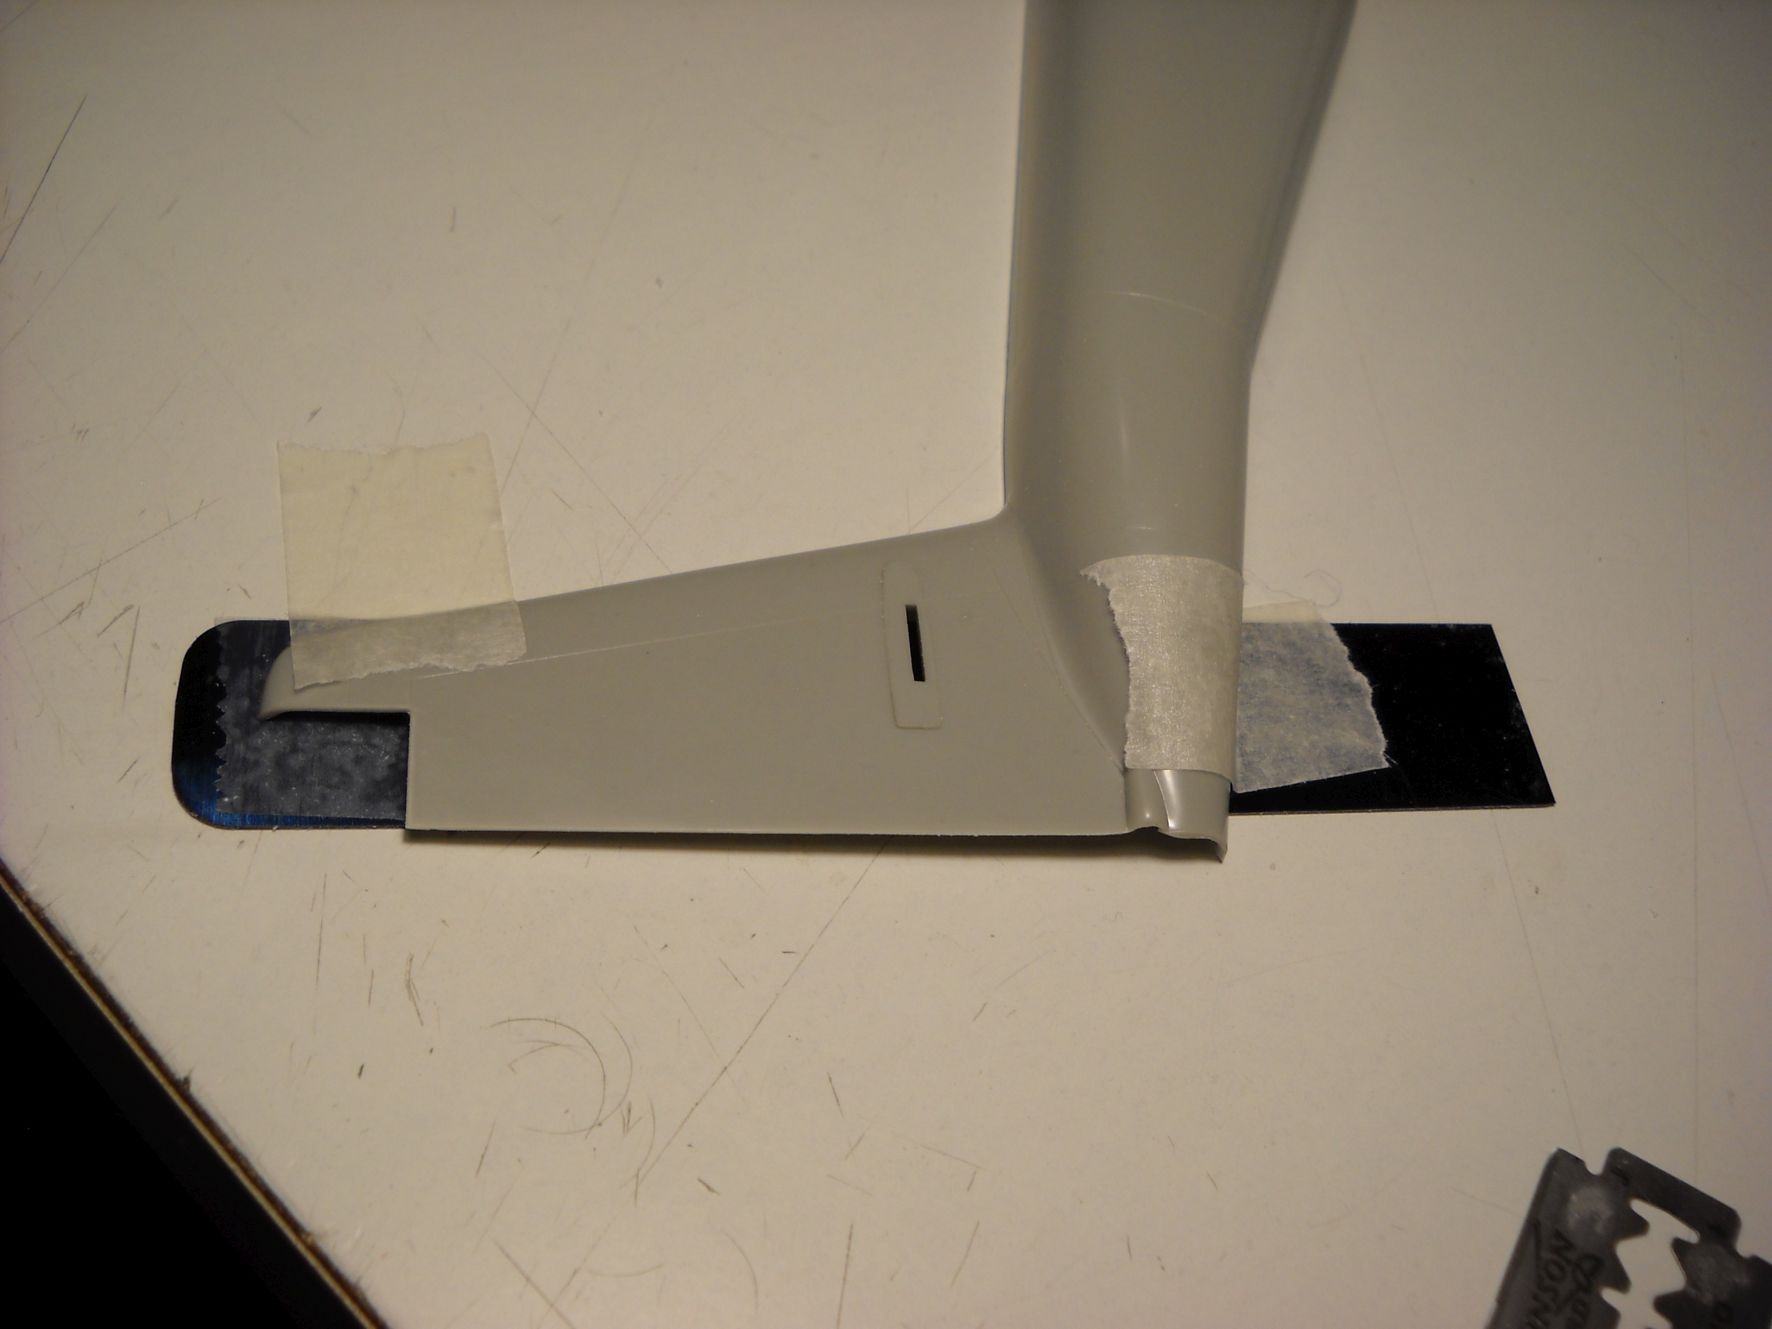
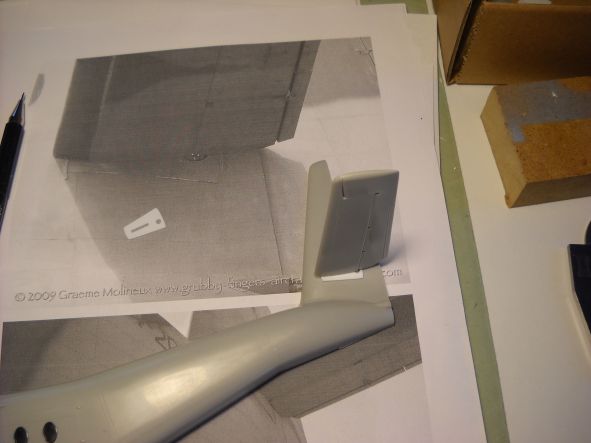
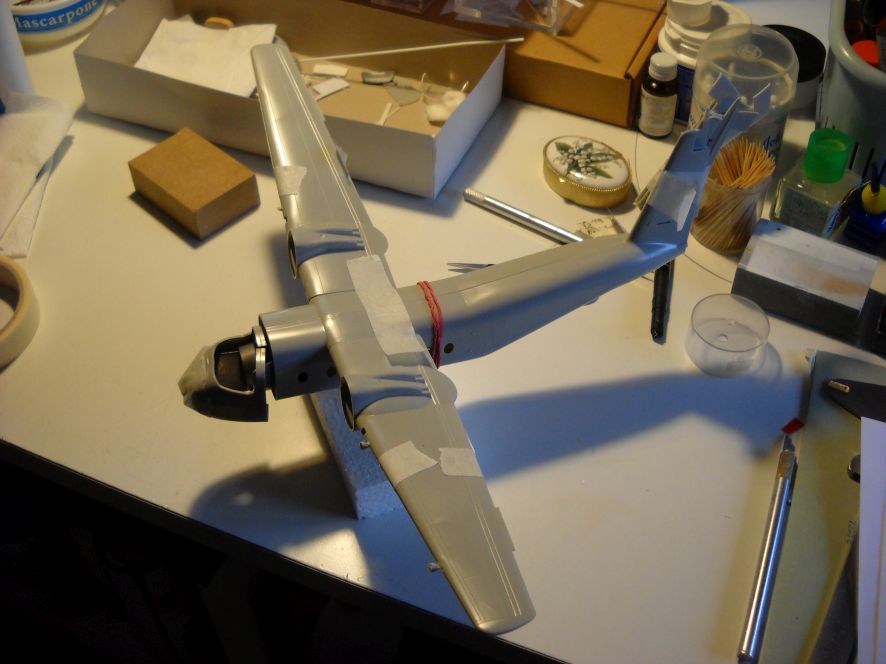
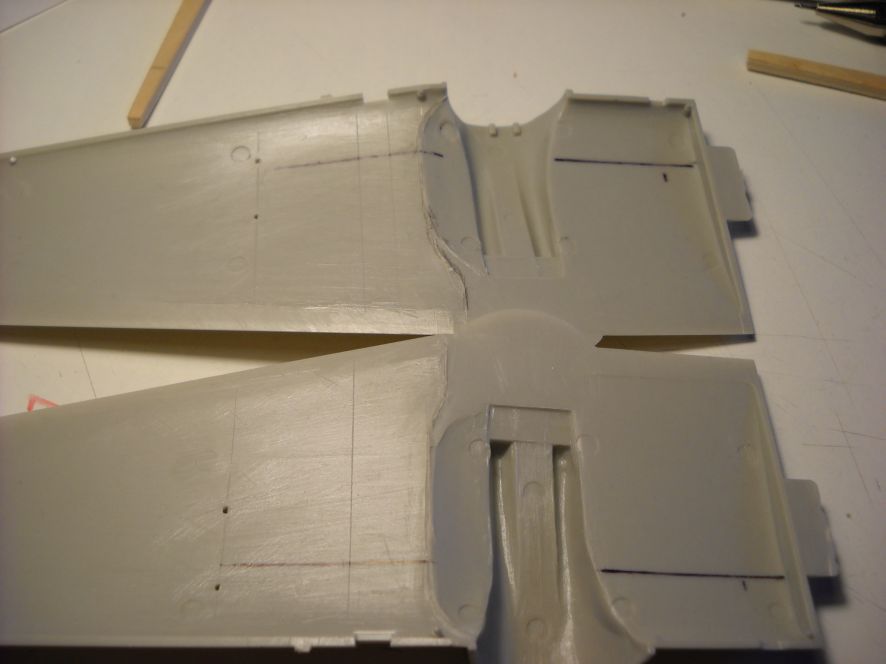
A big issue of the HobbyCraft kit is the incorrect dihedral.
Comparing with some drawings and the pics available on the net, I tried the less invasive surgery to increase the angle.

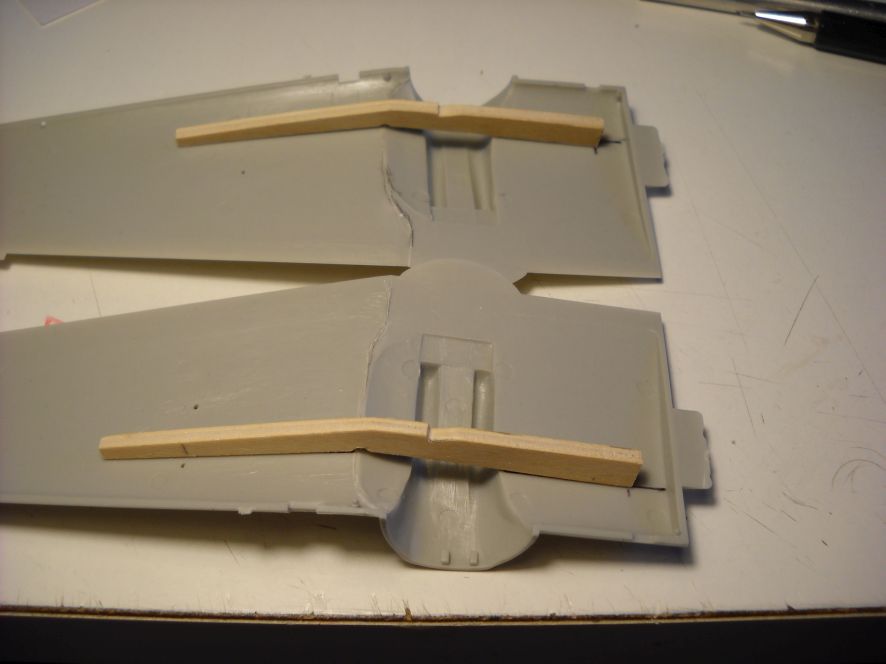
I made two woden spars with the correct angle to be glued inside the upper wing.
The parts, of course, don't match the angle.
Image

Then I engraved along the outer wing joint, outside of the engine, always in the inner face.
This allowed me to bend the part.
Image

Image

Image

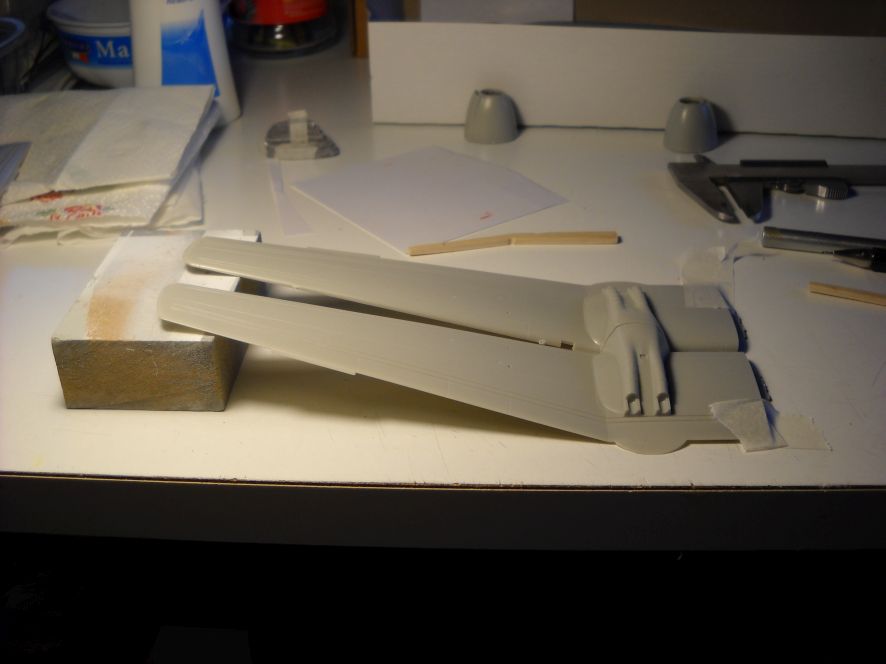
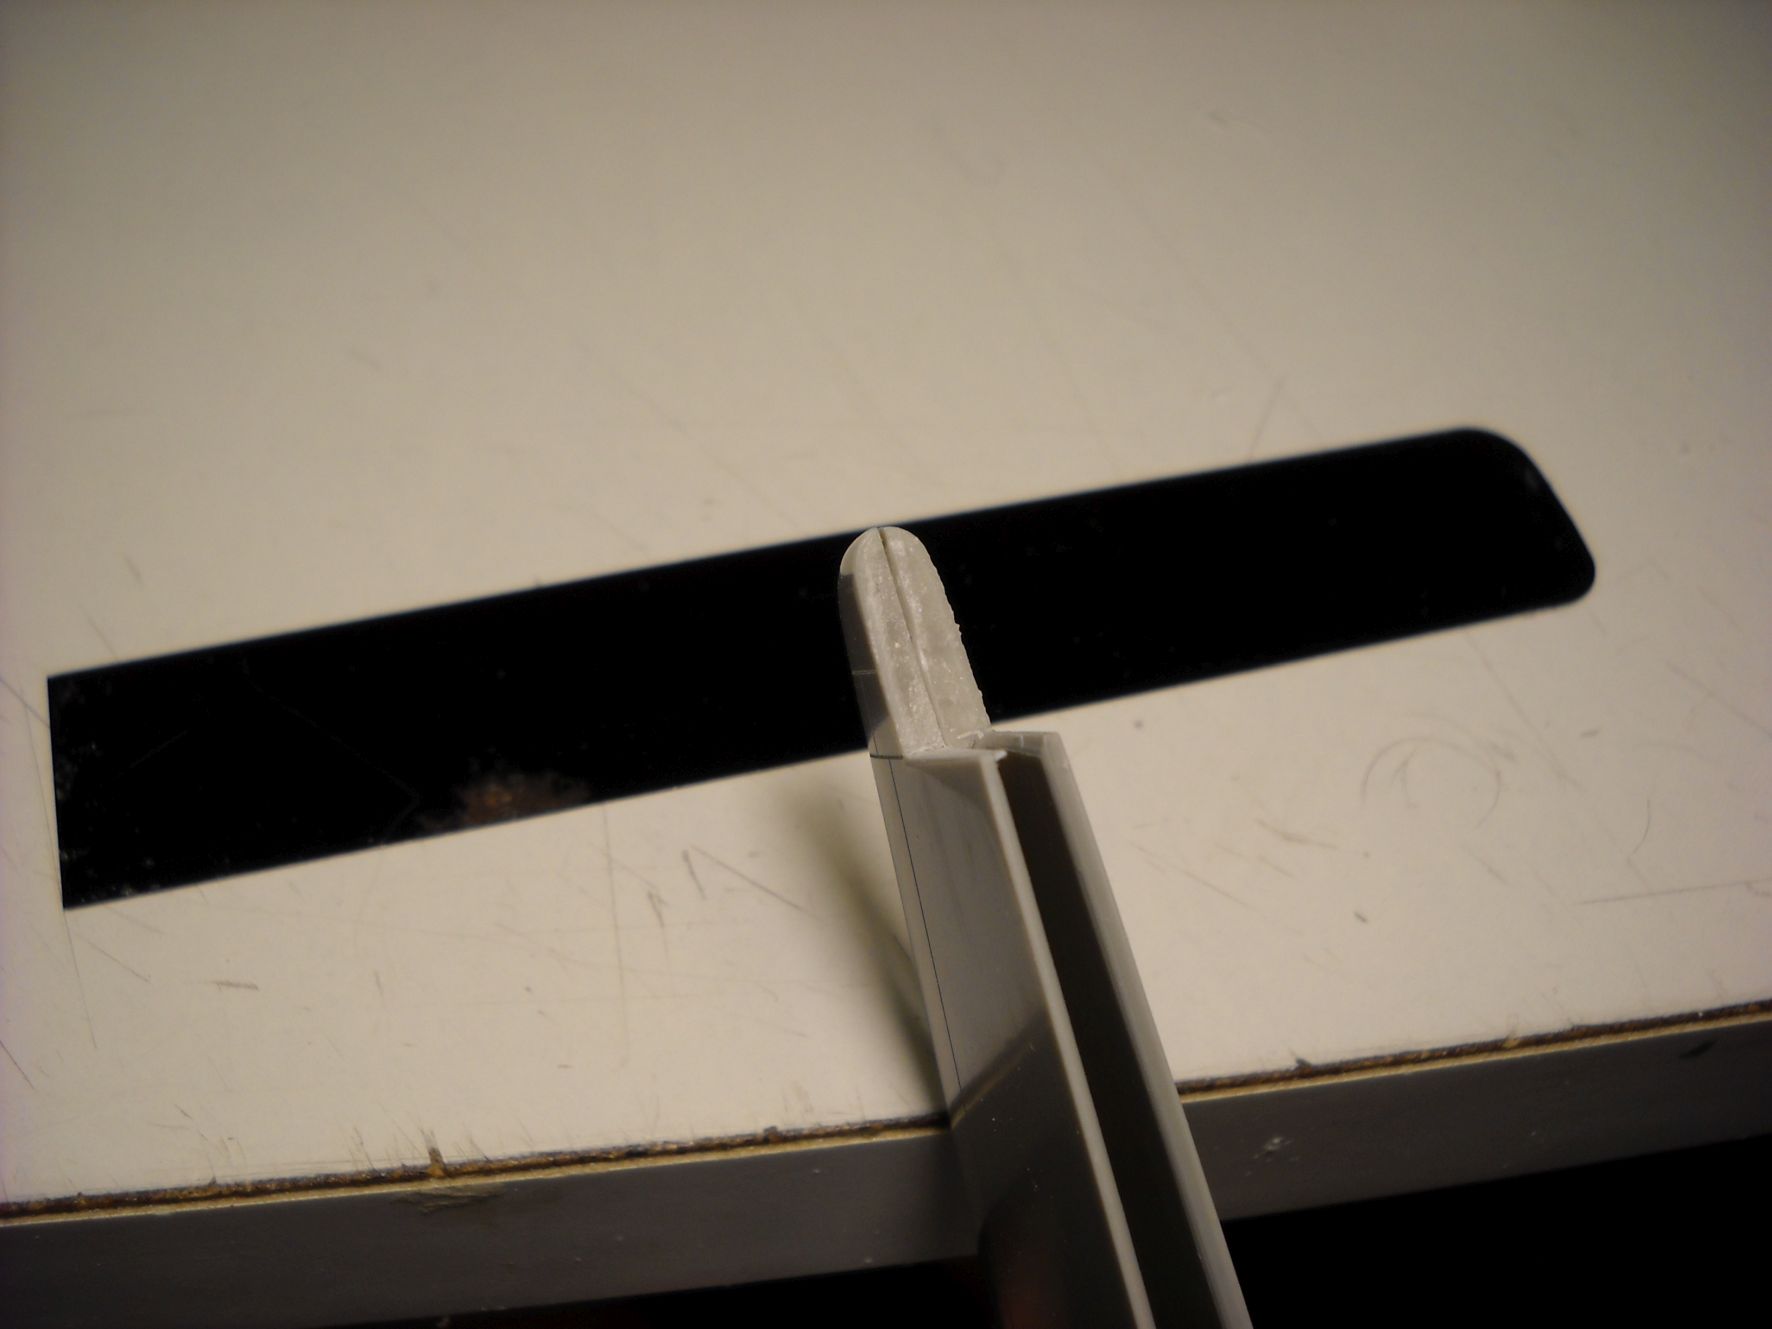
Now on the underside i had to do the same on the external skin, where I thought to insert some plastic to bend the wing.
Surprisingly there was no need to add anything and the part bent by itself, probabely due to the defonmation induced when engraving.

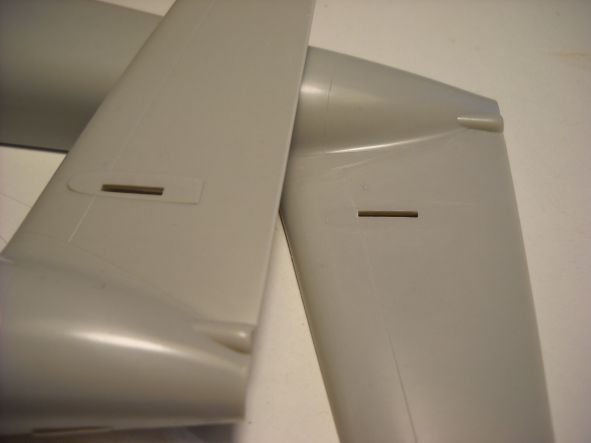
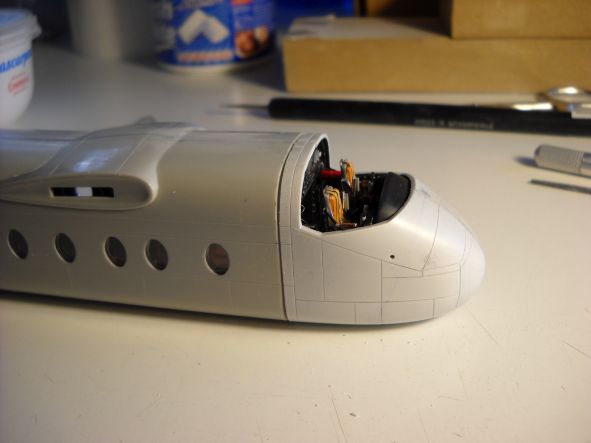
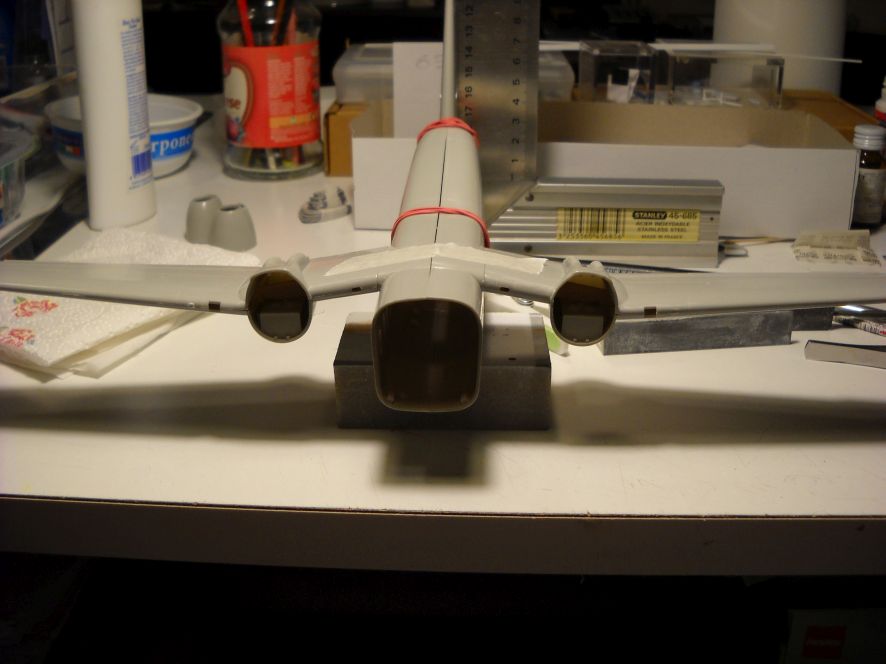
Here the upper and lower sides of the wing glued together and taped to the fuselage: it looks closer to the real thing.
Image

That's it for the week end.
Bye
Eugenio
72linerlover
 
Posts: 70
Joined: Thu Jul 21, 2016 2:50 am
Location: Cremona, Northern Italy

Re: 1/72 DHC-4 Caribou prototype - Hobby Craft

Postby 72linerlover » Sun Apr 21, 2019 3:29 am

Hapy Easter everybody.
Yes, I know, I'm late for the usual update, but this will be a massive one, at least for the amount of pics.

First the engines.
The nacelles are different as those of the series aircraft in the upper side and the exhausts are shorter.
So, some modification is requested.
Image

Here the new tubes that will be cut to size and painted, just before glueing.
Image

Back to the fuselage, the cockpit is finished and I'll put aside till the time for putting it inside the nose.
Image

Preparing a house for the cockpit, I noted the totally different panneling, so rescribing is a must
Image

It was supposed to be a mesh inside the fuselage, but I discovered a video where you can't see it. https://www.youtube.com/watch?v=tuRDPx6Ajh8
So the task was unusefull, but not that diffcult nore time consuming.
Image

Image

I opted to make only some framing using plastic rods, paying attention not to interfere with the windows.
Image

Image

Image

So, also the windows are glued. Just to hidden the long transparent stripes, I glued on a plasticard pannel with the corresponding holes.
Image

Meanwhile I wanted to give a definitive arrangement to the engines.
They are not from the kit: they come from an old Italeri DC-3.
Of course I lost all the assembling references, so the only way to get things right was to prepare a jig.

This is the sequence.
Image

Image

Image

Image

So, that's it.
Now I have to go and prepare some light but special food for celebrating Easter with my Parents in-law.
Bye
Eugenio
72linerlover
 
Posts: 70
Joined: Thu Jul 21, 2016 2:50 am
Location: Cremona, Northern Italy

Re: 1/72 DHC-4 Caribou prototype - Hobby Craft

Postby Uros » Thu May 02, 2019 6:16 am

Looking good Eugenio! Nice trick with wing dihedral, I have to remember it.
Cheers!
Uros
User avatar
Uros
 
Posts: 418
Joined: Mon Aug 14, 2017 6:25 pm
Location: Slovenia

Re: 1/72 DHC-4 Caribou prototype - Hobby Craft

Postby 72linerlover » Fri May 03, 2019 3:24 am

Thank you, Uros.
Well, I wish you will never need to do something like that.
Not that it is difficult, but time consuming and boring.
I always say to me: the next one will be out of the box, a very nice box, but then...
Still looking every day for some progress on the 737.
Bye
Euge
72linerlover
 
Posts: 70
Joined: Thu Jul 21, 2016 2:50 am
Location: Cremona, Northern Italy

Re: 1/72 DHC-4 Caribou prototype - Hobby Craft

Postby Uros » Sat May 04, 2019 3:47 am

Out of the box build? Where is the fun in that? ;) I hope to make some progress on 737 soon. I'll post pics as soon as I have something to show.
Cheers!
Uros
User avatar
Uros
 
Posts: 418
Joined: Mon Aug 14, 2017 6:25 pm
Location: Slovenia

Re: 1/72 DHC-4 Caribou prototype - Hobby Craft

Postby 72linerlover » Sun May 12, 2019 2:59 am

Hi, people.
It's time now to give some attention to the tail end of the fuselage.

The kit parts are quite acceptable, but to bring some more life to this section I decided to separate the control surfaces of the tailplanes.
This means that I had to close some gaps that the operation geneated.
I did it with some cyanoacrylate and talcum powder, one of my preferred filler.
To be sure to keep at minimum the further sanding, I put underneath a steel plate covered by scotch tape, as release agent.

This is the vertical fin, and the same process was applied to the horizontal planes.
Image

Image

Image

The tail planes of the real thing are mounted on shaft and there is a plate moving with them, I suppose.
So I sanded the fairings, made a hole and the plate I mentioned before.
Image

Image

At this point the fuselage halves are glued together, except the nose section.
Image

Here the fuselage upside down with the last part of the nose ballast.
Image

A test fit of the nose: it will require some adjusting.
Image

Meanwhile the glazing is framed inside and
Image

seems to fit OK with the front end... we will see.
Image

So, that's it, for the moment.
Bye.
Eugenio
72linerlover
 
Posts: 70
Joined: Thu Jul 21, 2016 2:50 am
Location: Cremona, Northern Italy

PreviousNext

Return to Member's Works in Progress

Who is online

Users browsing this forum: No registered users and 10 guests

cron